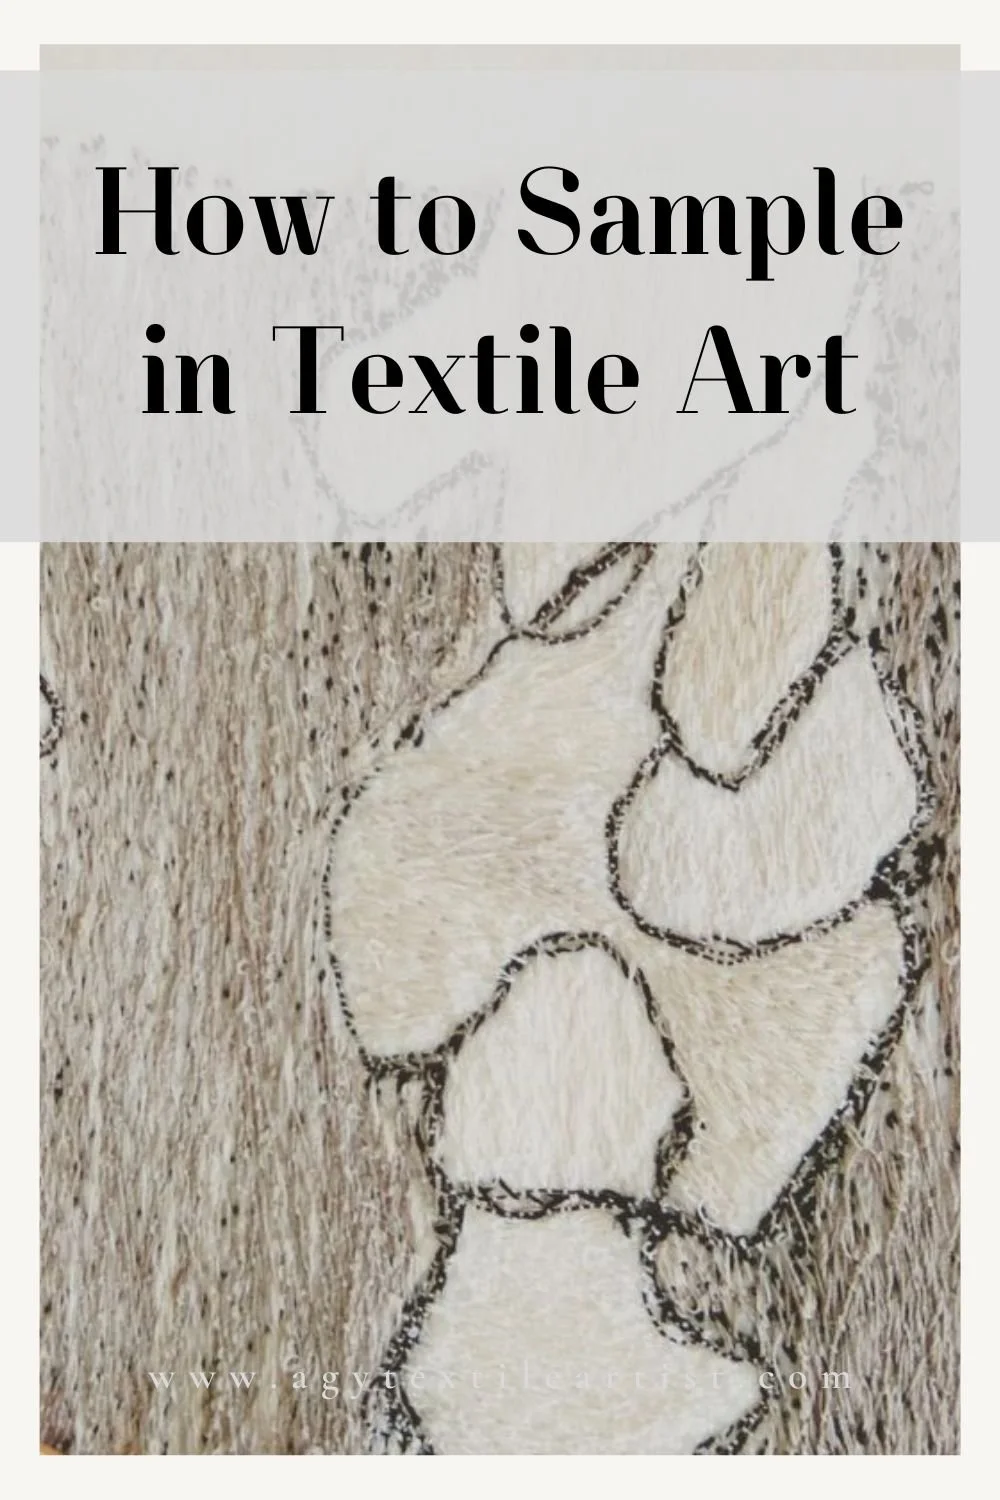
Sampling in Textile Art
During my textile artist talk at National Library Board, Singapore in February 2023, I was asked about my process and what would I consider the most important stage of it. The creation of the actual art piece is definitely very important, but to me the process of sampling and experimentation is just as important, if not the most important part of the artists' journey. In fact, I’ve spent 3 months sampling for my solo exhibition which will happen in June 2023!
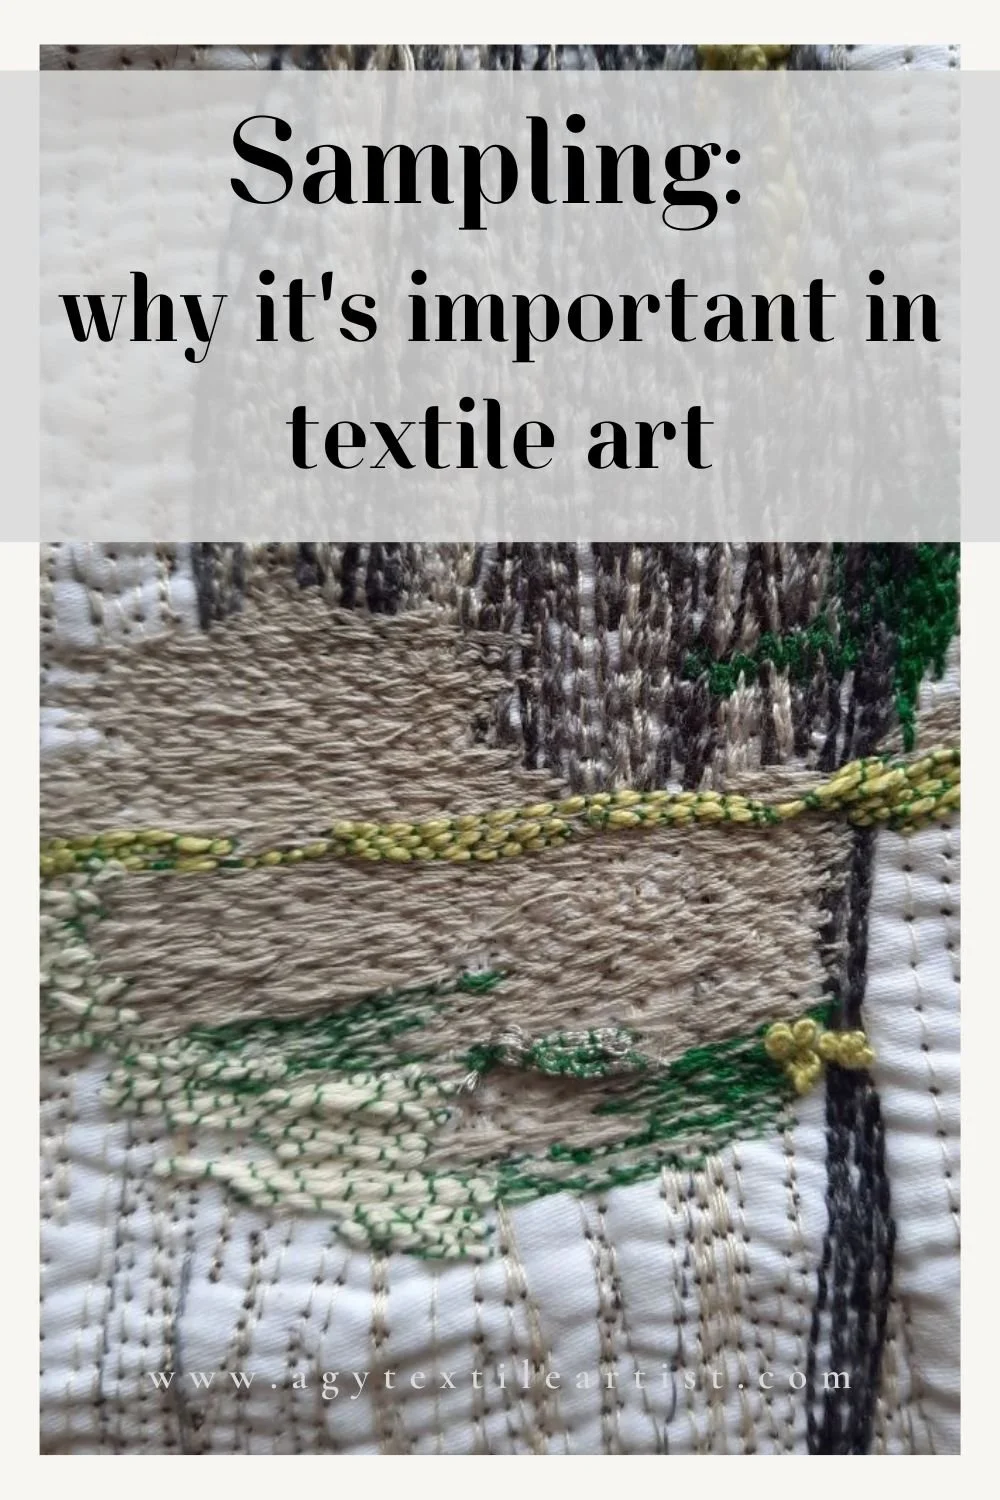
Why is it Important to Sample in Textile Art?
Just like a painter who mixes their paints on a palette to match a desired look, textile artists audition their threads and sews samples to achieve certain textures and colours. Unlike, painters, however, we are unable to mix the colours of threads - blue and red thread, sadly does not make the end result purple, but we do get textures of blue and red thread! How I wish we could mix our colours like a painter. If we could I would not have to source for so much thread!
Sampling enables textile artists to make the most desirable choice of threads, type of stitch and materials in the art work. Samples can usually be thought of as smaller versions of the actual piece. Making the right choices through sampling earlier on in the project helps us visualise our work on a smaller scale. If what you've sampled doesn't work out, you can stop what you’re doing and go back to the drawing (sewing?) board. At least you did not invest too much time and energy into the piece - imagine not doing a sample and launching straight into the artwork, only to find out that it's not what you had envisioned!
Sampling means less frustration and wastage
How to Sample in Textile Art
Let me share two examples from my earlier art works
a) Nature in Stitches; and
b) Soft sculpture coral pieces - Thrive and Abundant Bloom.
Nature in Stitches
The intent of this project was to showcase the textures of a variety of tree bark in Singapore. Photographic images of the tree bark were captured during walks, and later turned into sketches. As you can see, I tried to emulate the layers and textures of the tree bark through different pencil strokes. By the time I had created the sketches, I had an idea of what sort of stitches I wanted for each type of texture of the bark, but it was important to sample. I made a note of this and also auditioned the colours and types of thread I wanted to try. It's important to keep a note of these as it can get confusing later on in the project. I also made a note of the tension settings and needle. Different needle settings and needle type gave a different outcome.
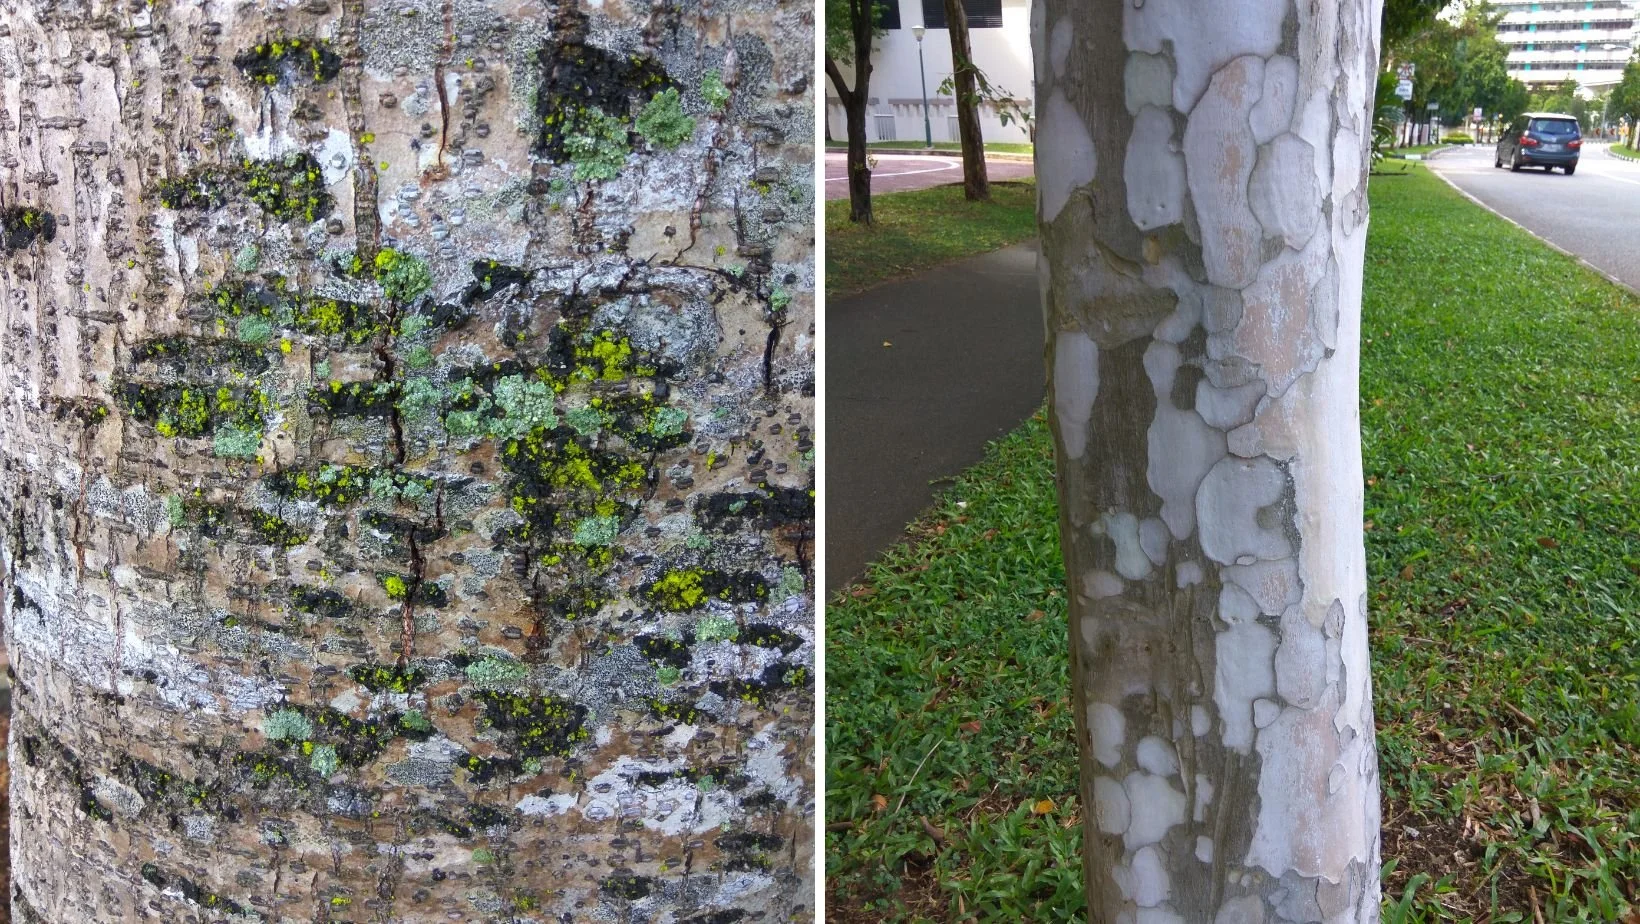
Photographs on site - yellow flame (L) and leopard tree (R)

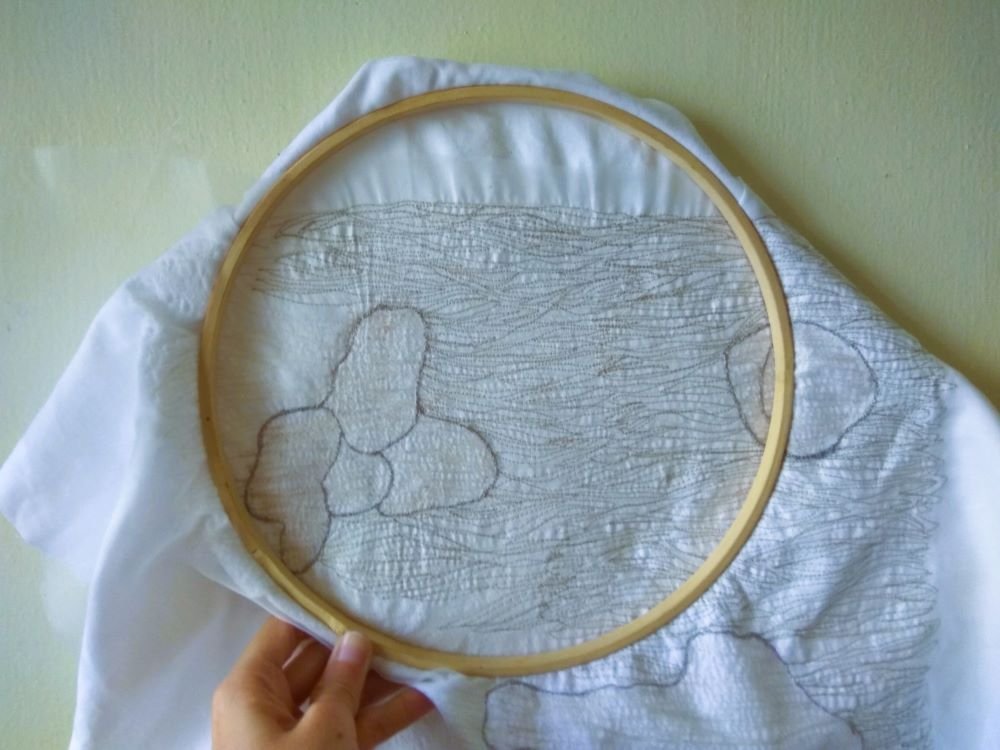
Sketches of yellow flame and leopard tree bark
Here are two samples, one each for the yellow flame and leopard tree. These samples were roughly 14 x 20cm in size.
As you can see, the smoothness of the leopard tree, and the rough edges of the yellow flame are reflected differently through various stitches.
Smoothness - finer and lighter threads were chosen. I also opted for shiner threads such as rayon.
Rough - heavier threads with the use of a thicker top stitch needle to create the dimpled texture of the bark.
Once I was satisfied with what stitches and threads to use, I then proceeded to working on the final piece which was 40x40cm.
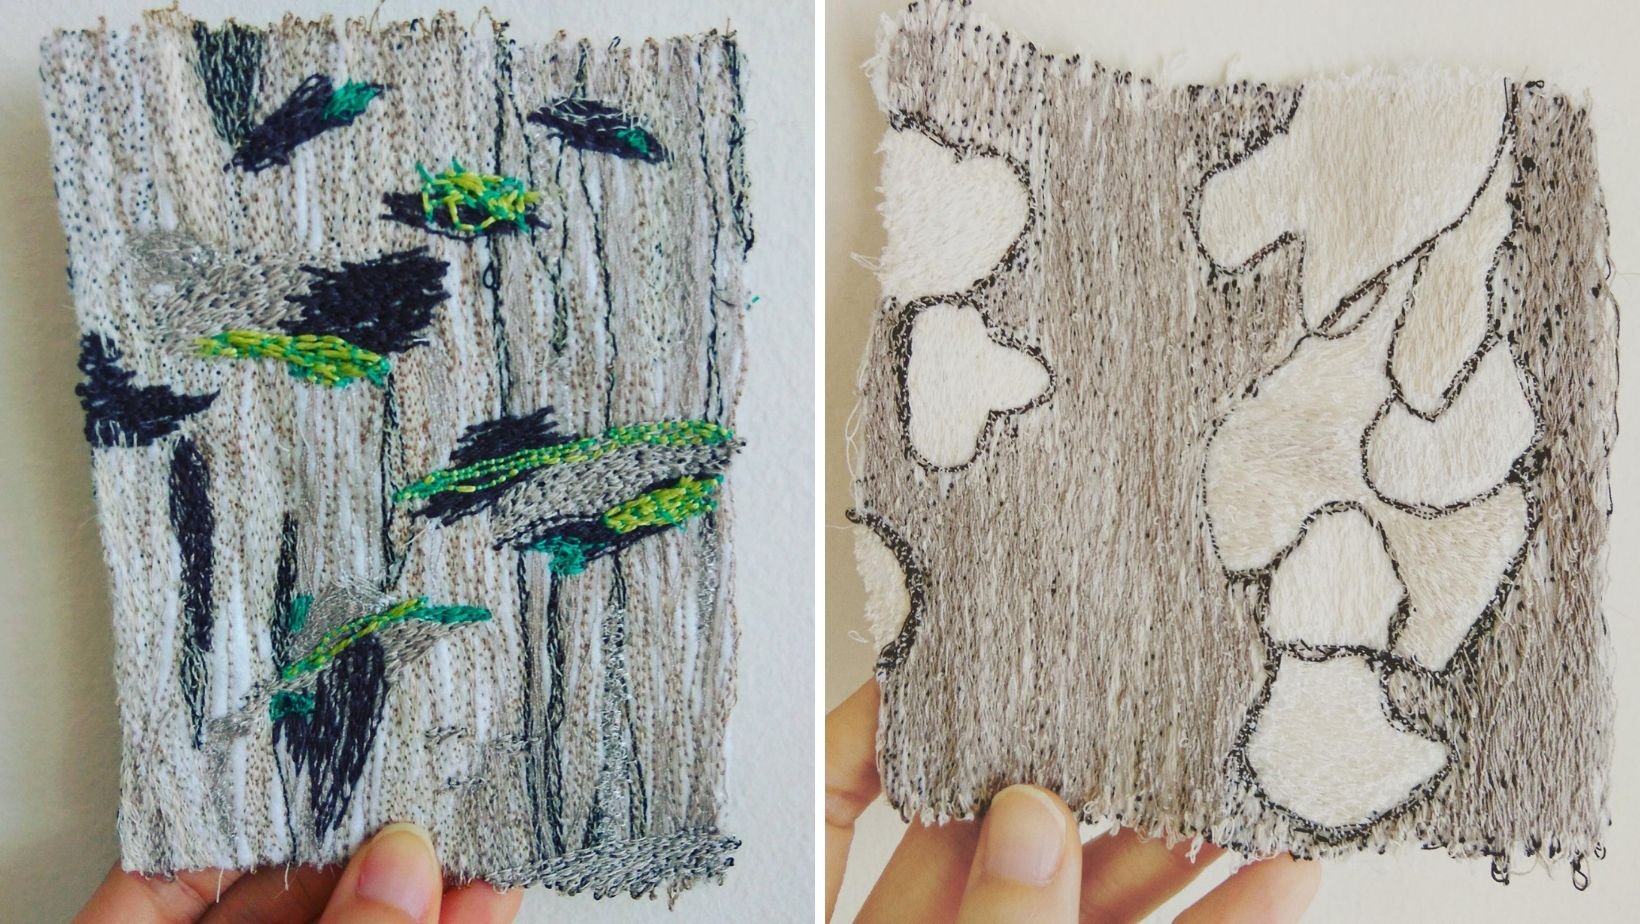
Textile samples - interpretations of the bark from the sketches
Close ups of the actual artwork for the yellow flame tree bark (left) and leopard tree (right).

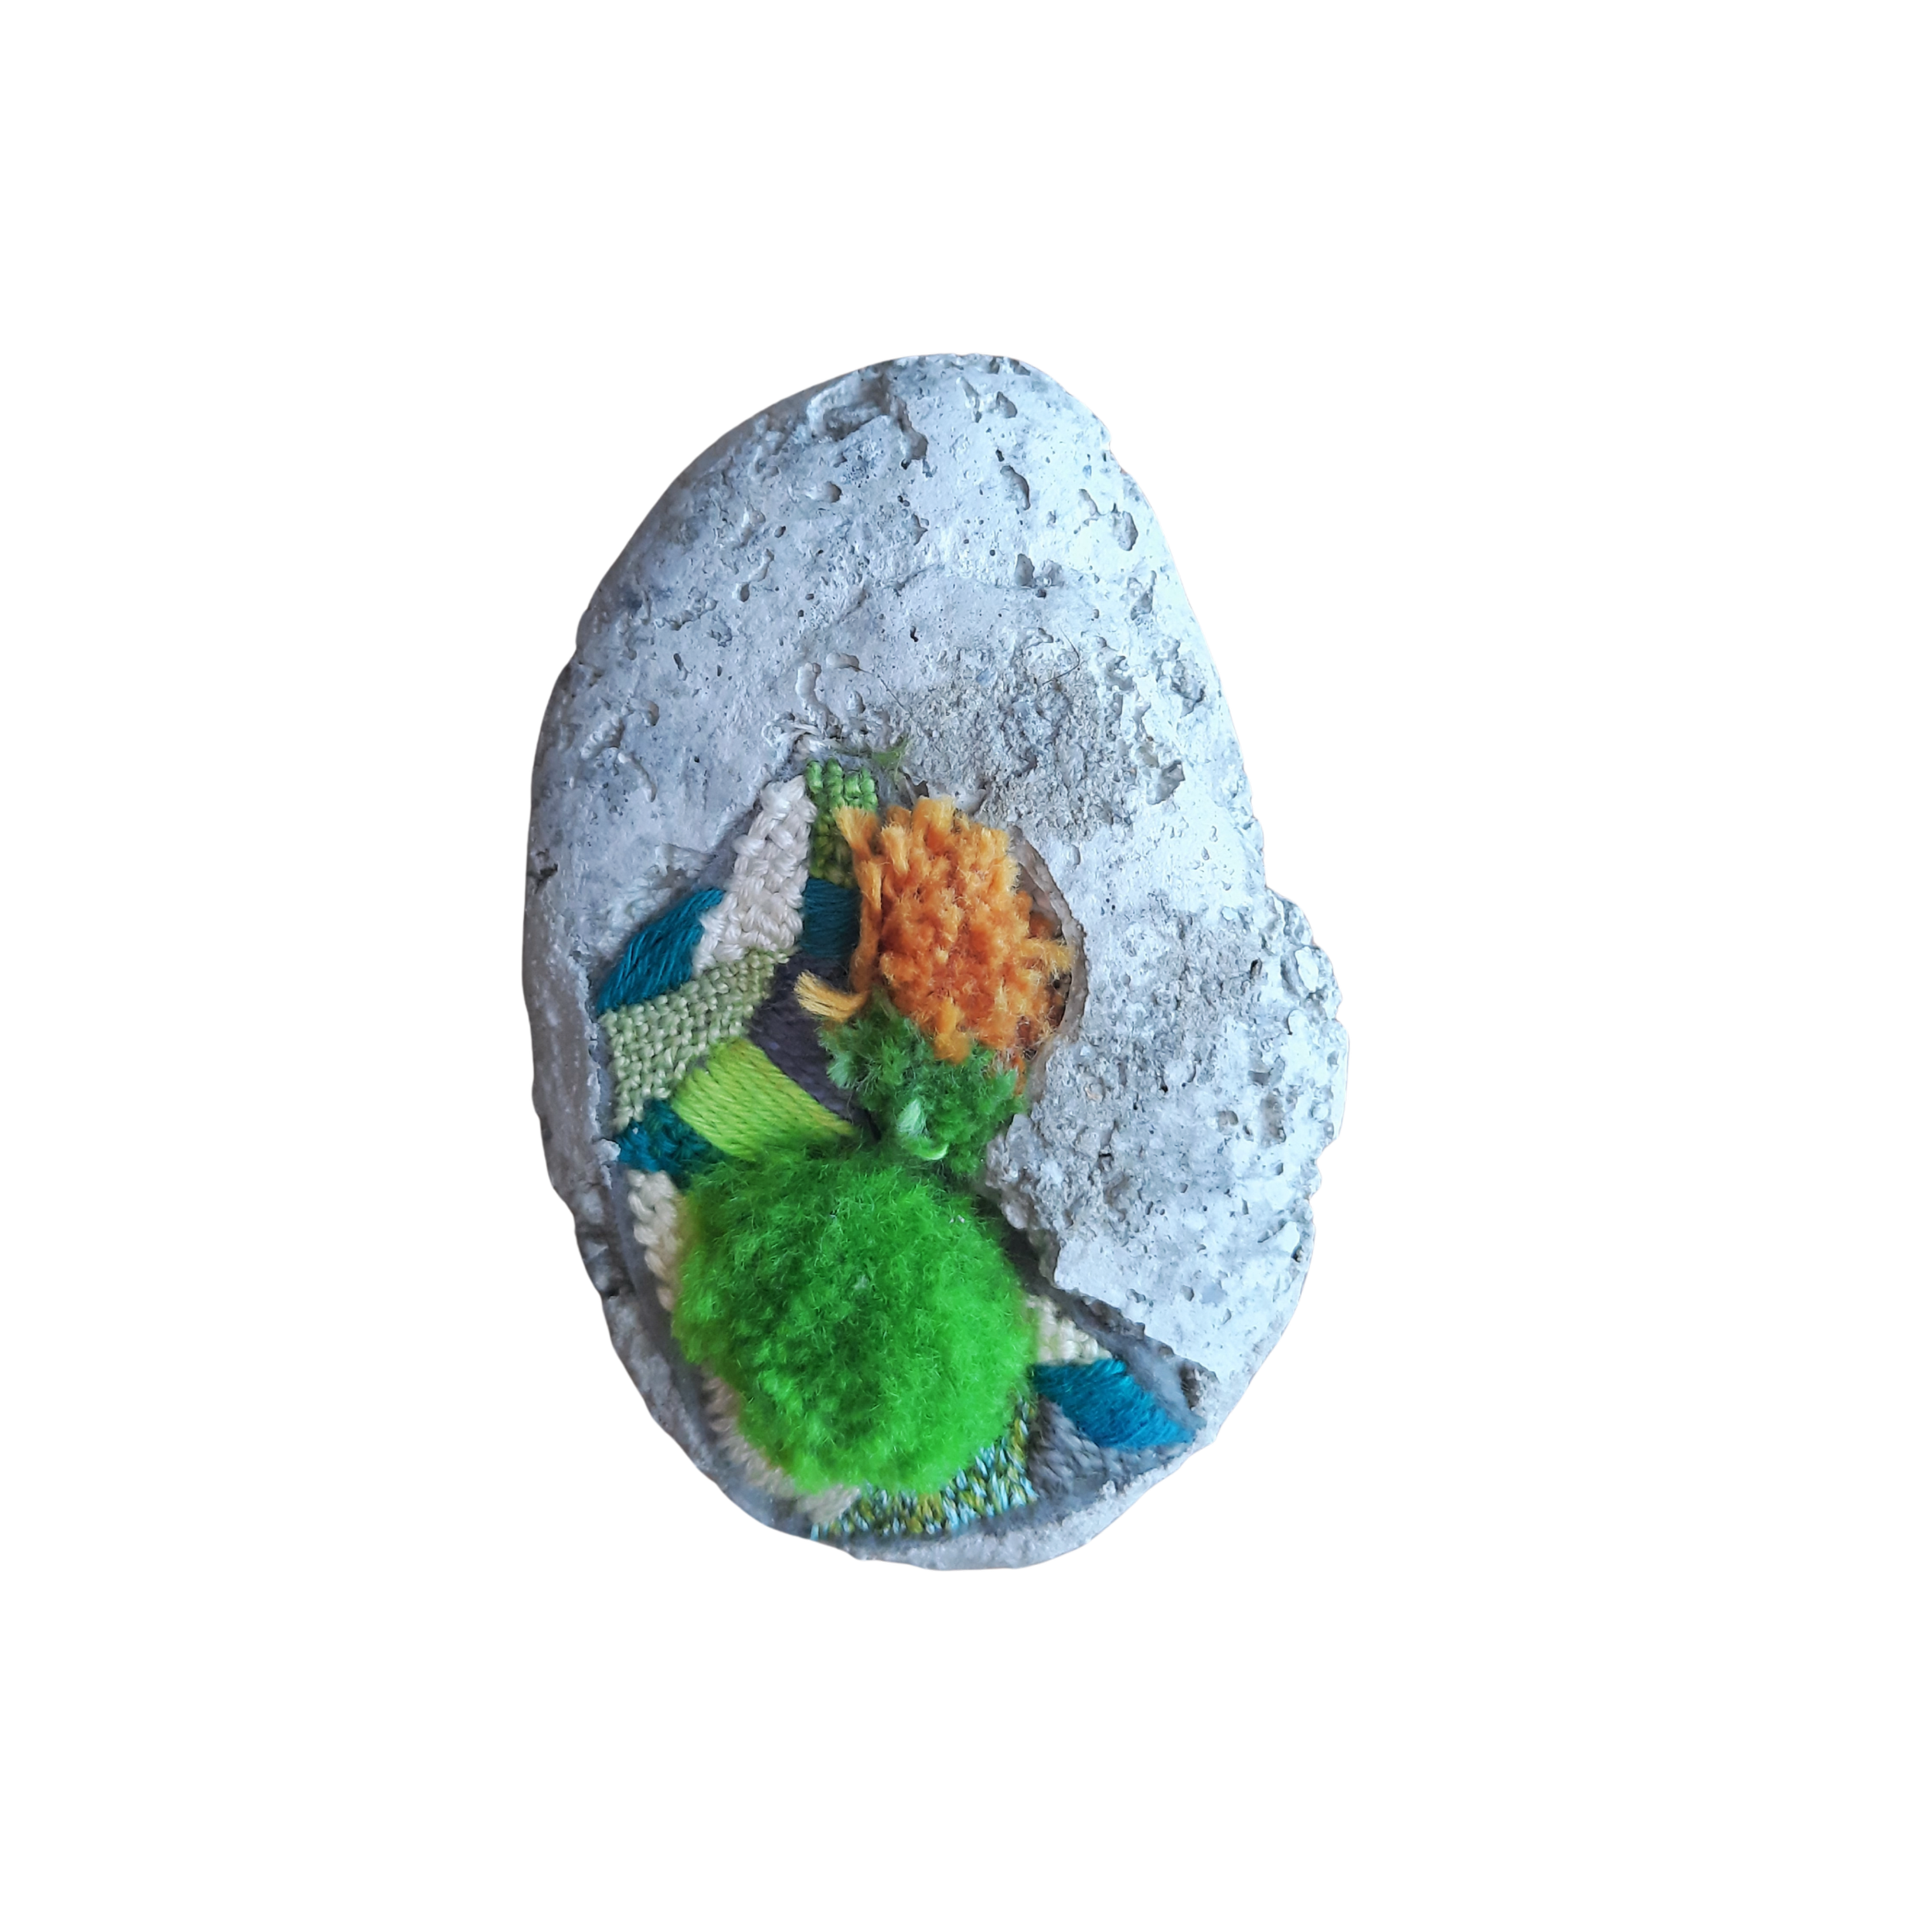
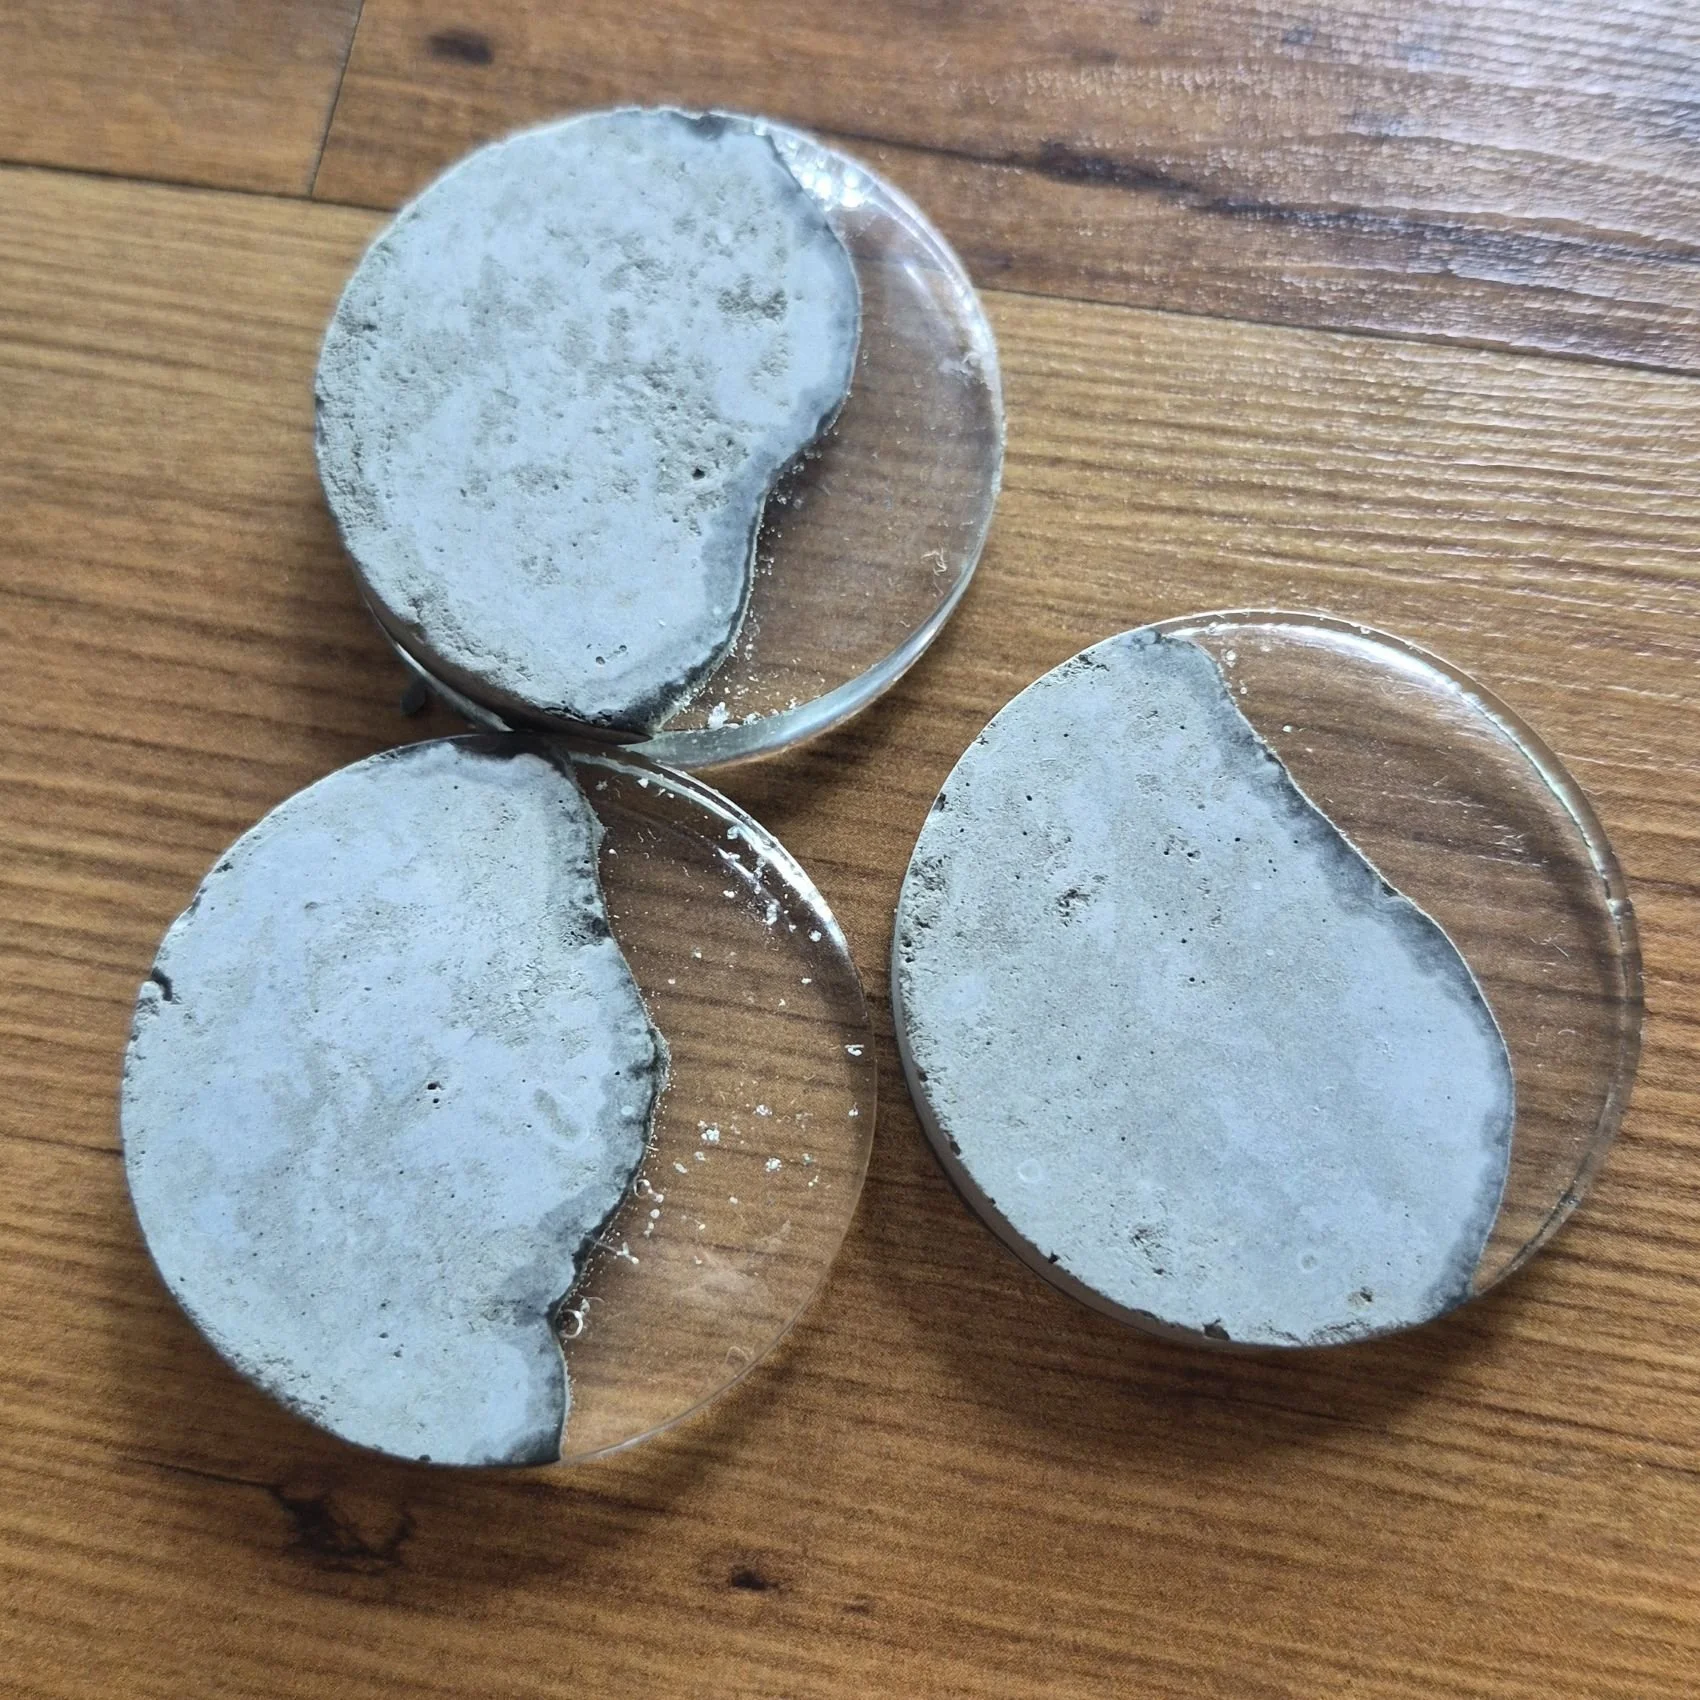
soft sculptures - Thrive & abundant bloom
Sampling is a test of patience though, and is not to be taken lightheartedly. Sometimes, it can make you want to give up!
The sampling of this series of work was not as straight forward, and it actually pushed back my production timeline. I wanted to continue working with organza and create coral pieces that showcased their fragility.
The sampling stage was not as simple as my usual sampling process, and involved 2 parts:
a) creating moulds of a certain size so that I could manipulate the organza; and
b) deciding on stitches and threads that would emulate the corals.
There was also the factor of whether the stitching came before or after the fabric manipulation. I think it took me at least a month of sampling before I was satisfied with the outcome.


Advice on the Textile Art Samples Process
Here are a few of my takeaways on including sampling in your textile art process:
Do a sample even if your final artwork is small, or involves just trying out some fabric paint or stitches. Remember sampling means testing the technique before going onto the actual art piece.
Don't give up easily. Sometimes it does get frustrating but it's helpful to break down the sampling process into smaller parts.
Work at the samples every day - small gains make big wins overtime.
Remember to keep a note of what you have done for the sampling. Sampling is just like a science experiment - write down the materials, stitching methods you have used and the result. Don't forget to add the date too!
Remember to include a buffer in your schedule for sampling fails and repeats. If the sampling doesn't go as planned, then at least you have some time to find something that works for your project!
Do you sample? Let me know what you think!
Read more