Creating Textures with Free Motion Embroidery
Creating a Dictionary of Stitches
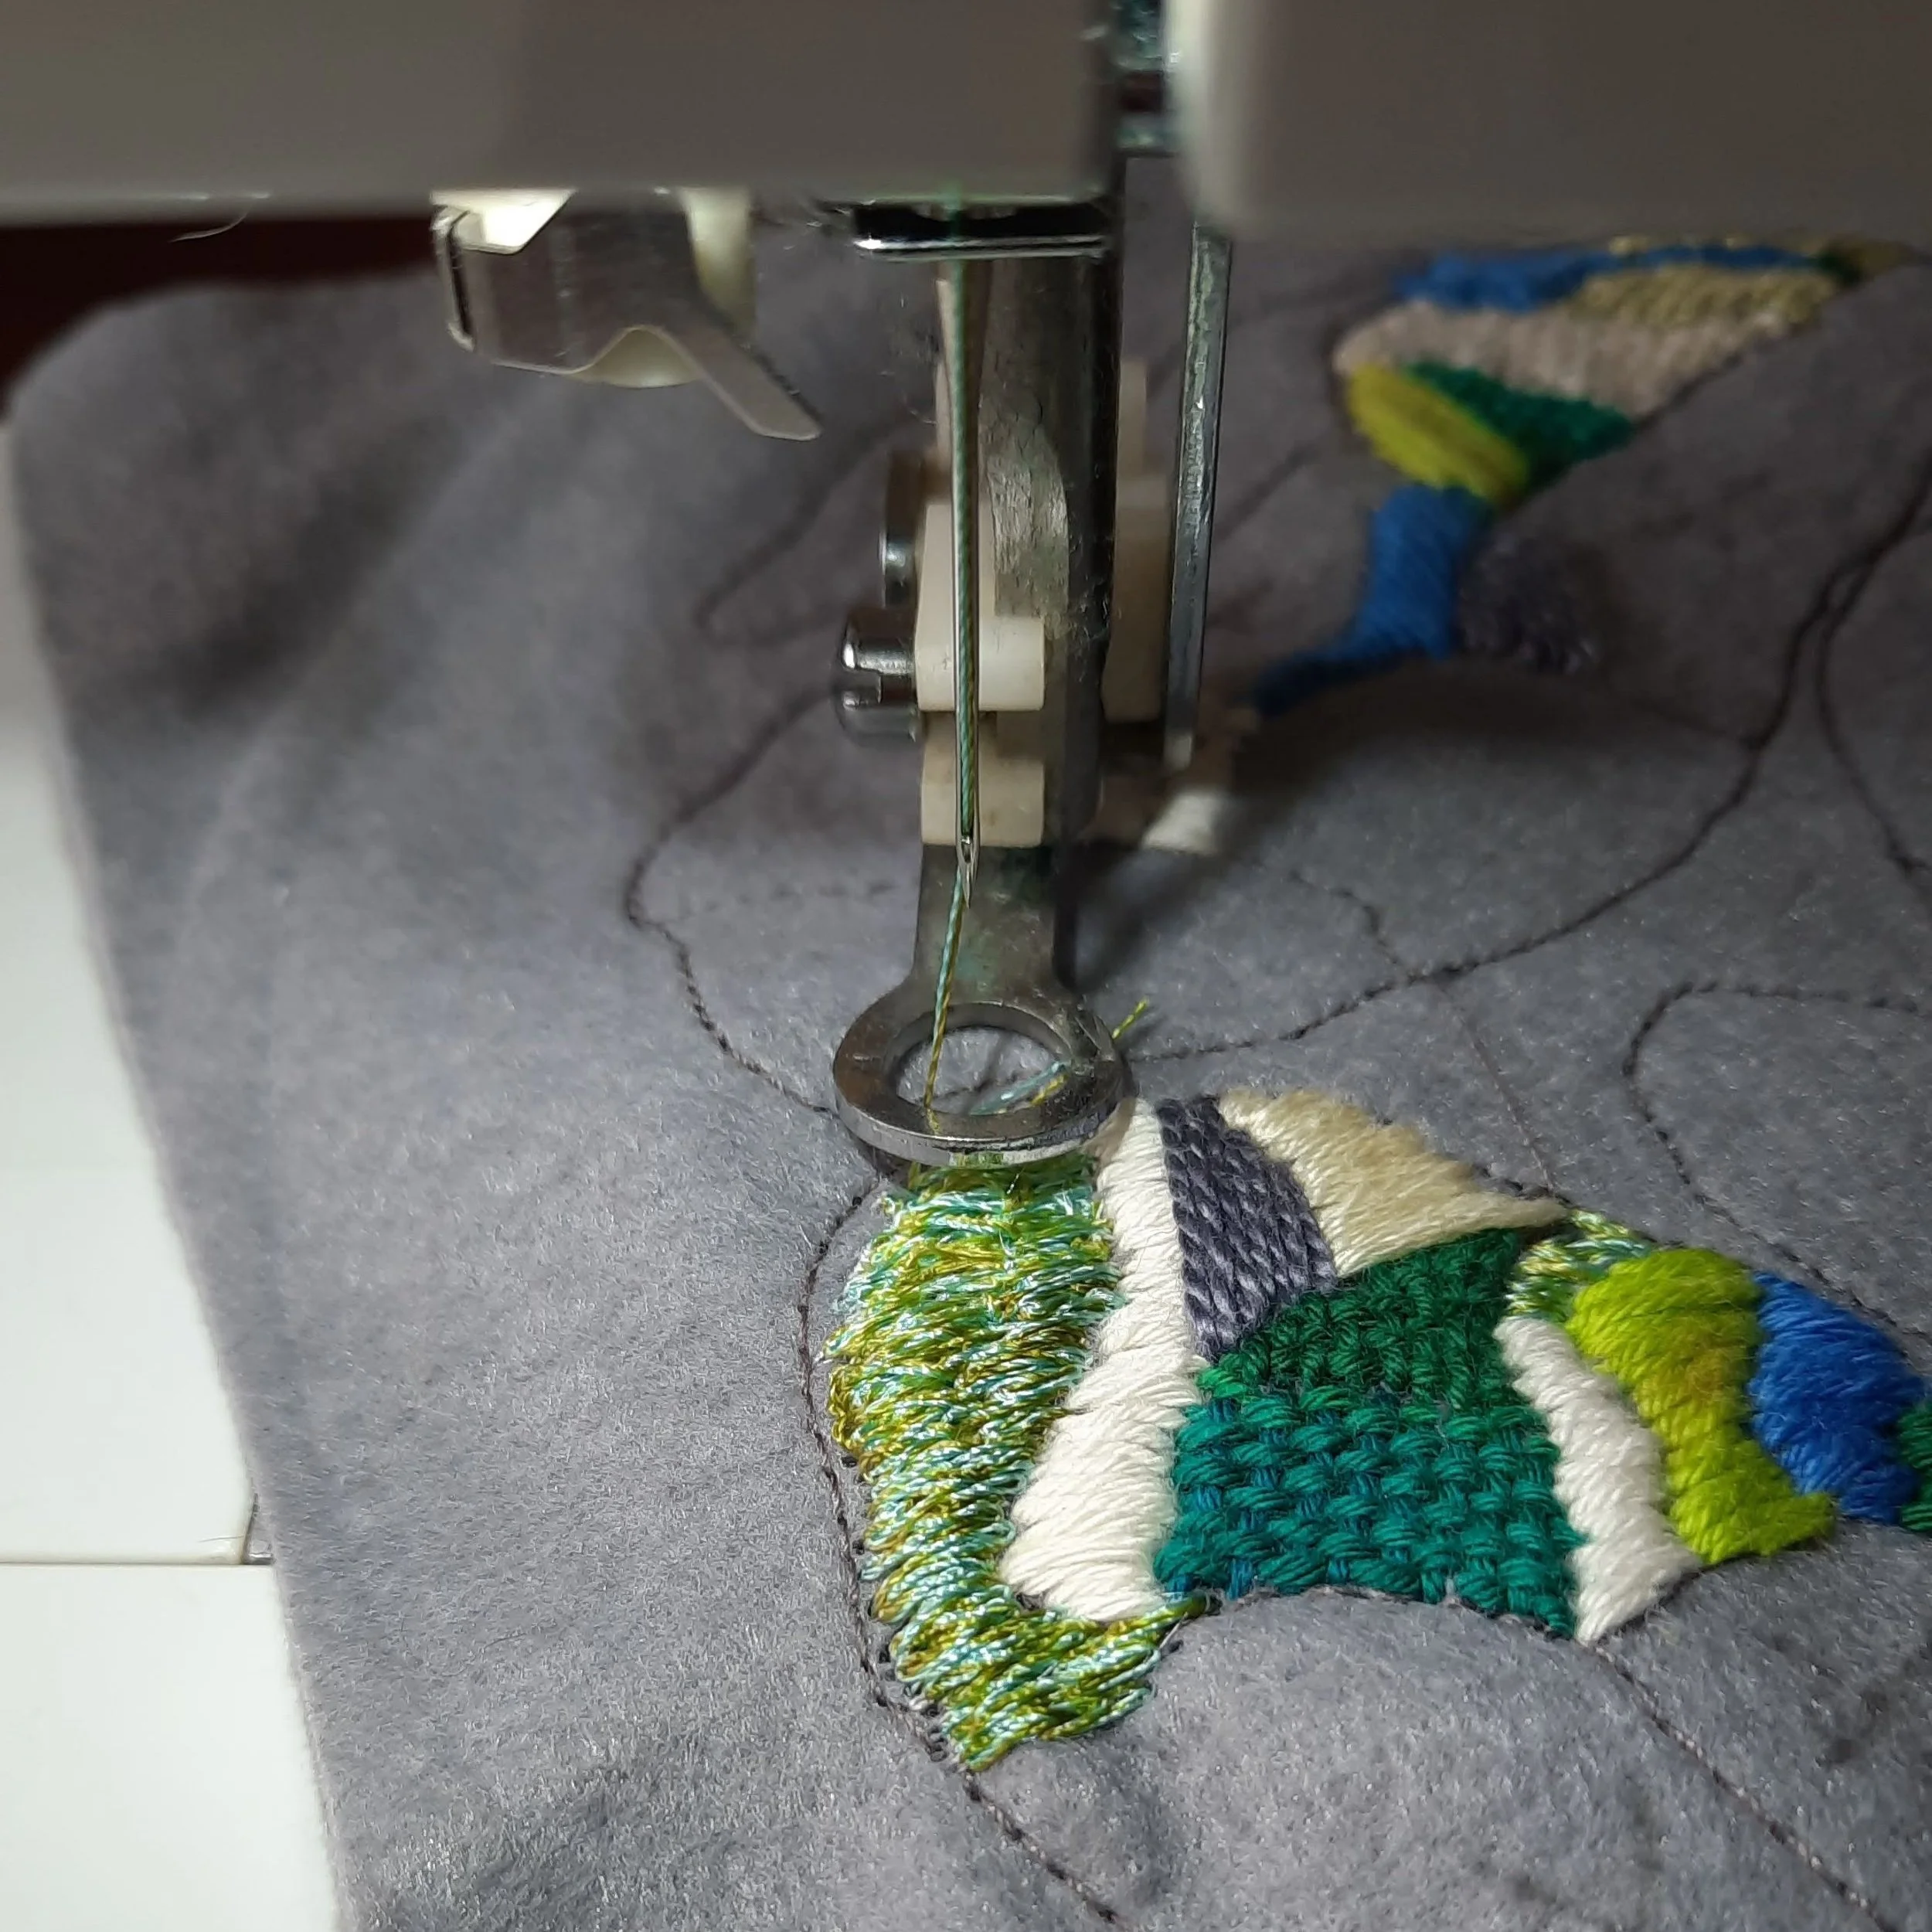
I absolutely love creating textures with free motion embroidery.
There’s something magical about building up layers of color and texture on fabric. Every session feels like an adventure—sometimes you end up with a delightful surprise, and other times, well… you might find yourself in a tangled mess (but sometimes these end up being useful too!) But that unpredictability is part of the fun.
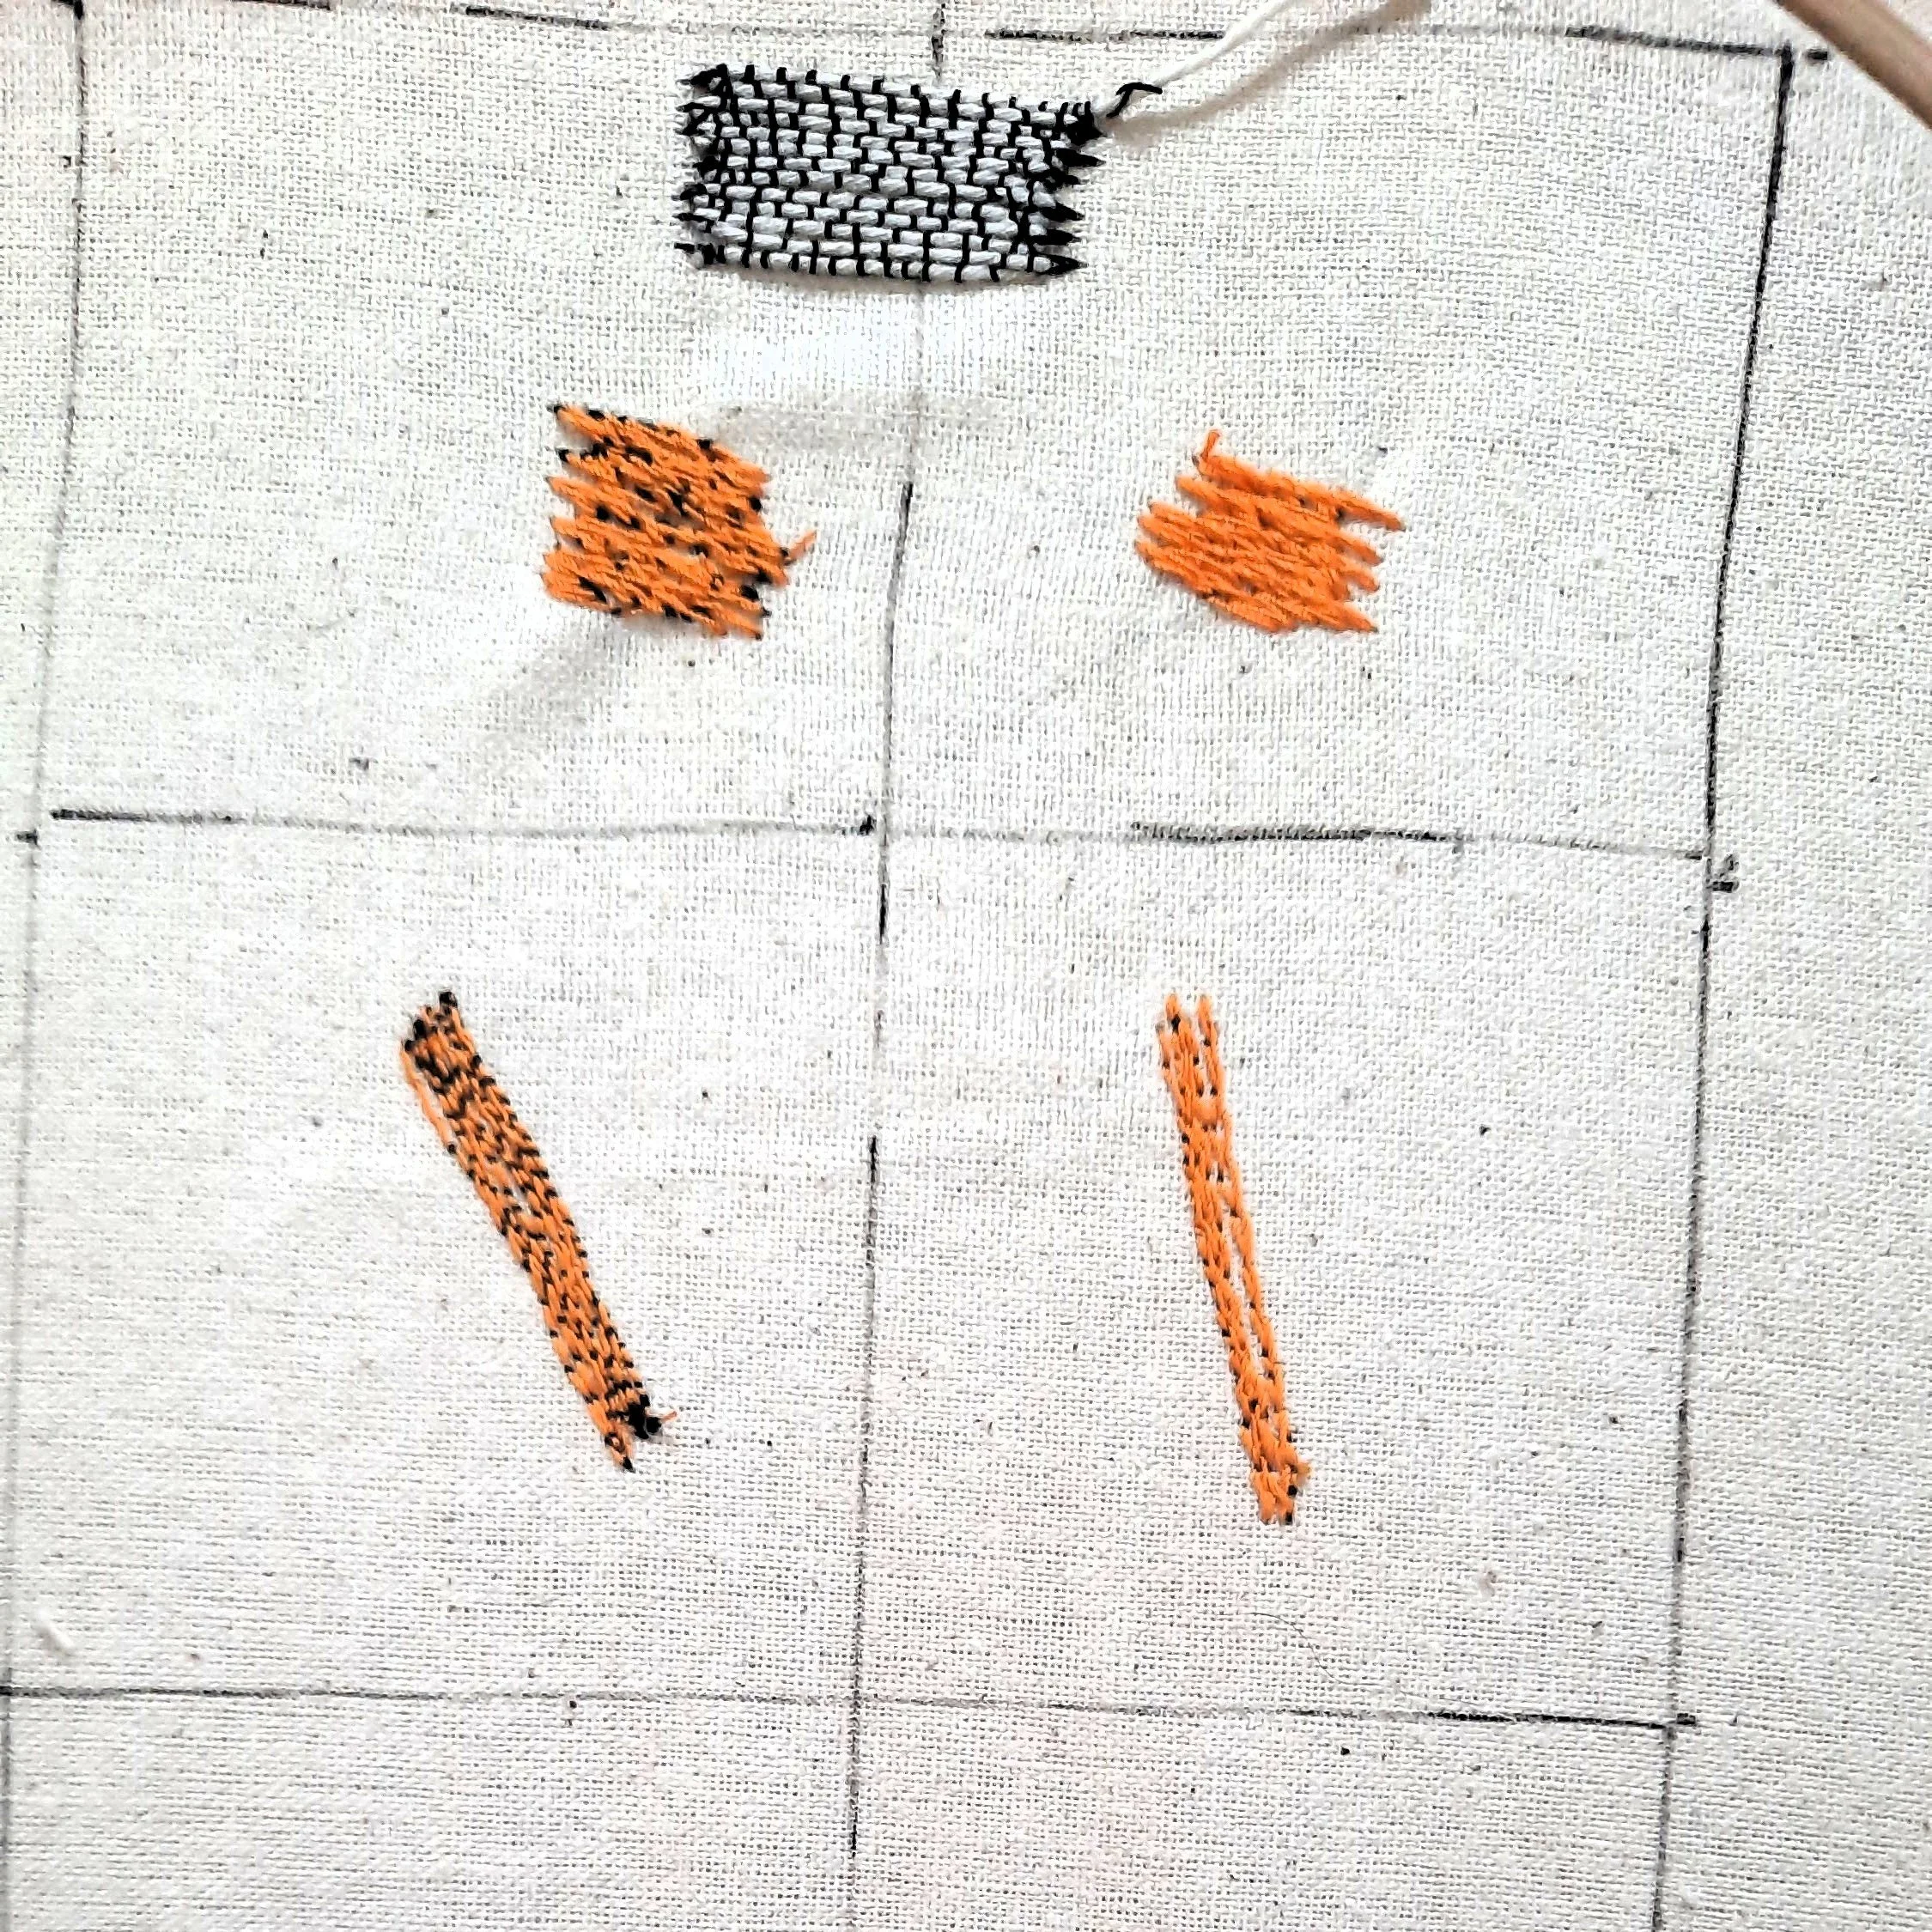
Experiments with stitch
Embrace Experimentation
One of the best parts of free motion embroidery is the experimentation. There are various ways you can do this, but the two ways you can start off your journey is with different threads. There are so many types of threads for free motion embroidery that it feels like a sweet shop the moment you step into any good haberdashery. It’s really tempting to buy the whole lot! There are metallics, rayons, polyester, cottons, and even specialty threads like variegated or glow-in-the-dark can all yield unique effects.
2. Love Your Existing Threads!
Don’t splurge! Before you make a trip to the haberdashery and splurge on new threads, why not experiment with the existing threads you have at home? Or perhaps do an inventory check of the threads you have before making any purchase. It’s very tempting to get the fancy threads, but remember, your existing threads may achieve the effects you want.

3. The Importance of Keeping Records - A Dictionary of Stitches!
Because each combination can produce such different results, I highly recommend keeping a record of your experiments. Snap a photo, staple a swatch into a notebook (or slip them into a file), and jot down the details: the sewing machine you used, the threads, fabrics, tension settings, and even your thoughts about what worked (or didn’t). Sometimes, a sample you didn’t love at first glance becomes the perfect inspiration for a future project so don’t throw anything away! On other days, you could stumble upon a happy accident too - one day, my top thread got caught on the handle of the sewing machine by accident, and it ended up gradually increasing the top tension and allowed the bottom thread to shine through along various parts of the work.
4. Be Systematic—Like a Scientist!
Think of your embroidery experiments like a science experiment.
Change only one variable at a time so you know exactly what caused each effect. For example, start with a beautiful red rayon thread on both the top spool and bobbin. Stitch a small sample, then change just one thing—maybe swap out the bobbin thread for a contrasting color, adjust the tension, or experiment with your hand movements for different stitch lengths and densities. There are so many options, so start small in order not to feel overwhelmed.
Here are some variables you might try changing, one at a time:
Thread type or color (top or bobbin)
Tension settings
Speed and movement of your hands (in coordination with your foot pedal speed)
Chosen stitch type (straight vs zig-zag)
Anything else you can think of?
5. Don’t Be Afraid to Play!
Remember, don’t take it all too seriously—the most important thing is to enjoy the process. There’s no rush to complete all your experiments in one day, or even in one sitting. Think of this as an ongoing creative journey that can evolve over months or even years - I’m still growing mine! Take time to reflect on your samples and revisit them now and then; you’ll be surprised by how your perspective changes and how new ideas can emerge from old experiments. Remember, you never know when a past discovery will spark fresh inspiration!