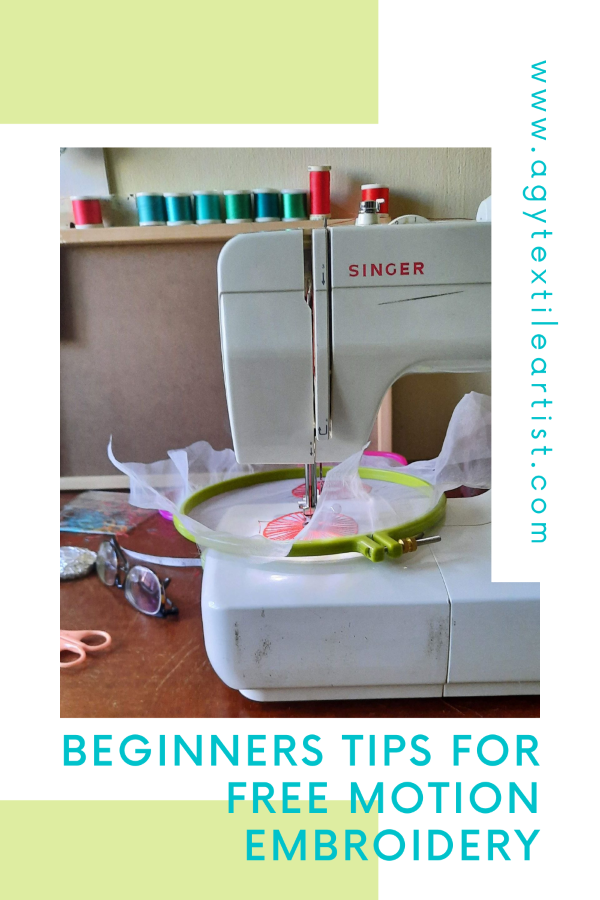
Beginner's Tips for Free Motion Embroidery
How to make your free motion embroidery journey a breeze
Are you a beginner in your free motion embroidery, but sometimes struggle to get the machine going?
Do you end up frustrated with when a free motion embroidery sewing project just doing go as planned?
I shared some tips earlier on in my journal / blog, but there are other non-technical aspects that I think are important to share with you too.
Practice and patience

Troubleshooting - when my sewing machine tests my patience!
When I started off with this amazing technique, I struggled too, and at times I did feel like giving up. I had to remind myself that I had just started on my journey, and there were bound to be hiccups along the way - it’s like a baby who is starting to walk. The baby manages to stand up and take a step or two, before falling to the ground. Does they give up? No, they continue trying until the manage to perfect walking. It’s the same way with free motion embroidery, or learning any other skill; it takes practice and patience.
PS - troubleshooting a sewing machine when doing free motion embroidery can be a trying experience. I find it useful to write the troubleshooting in a small notebook so that they can be referenced at a later date.
Baby Steps
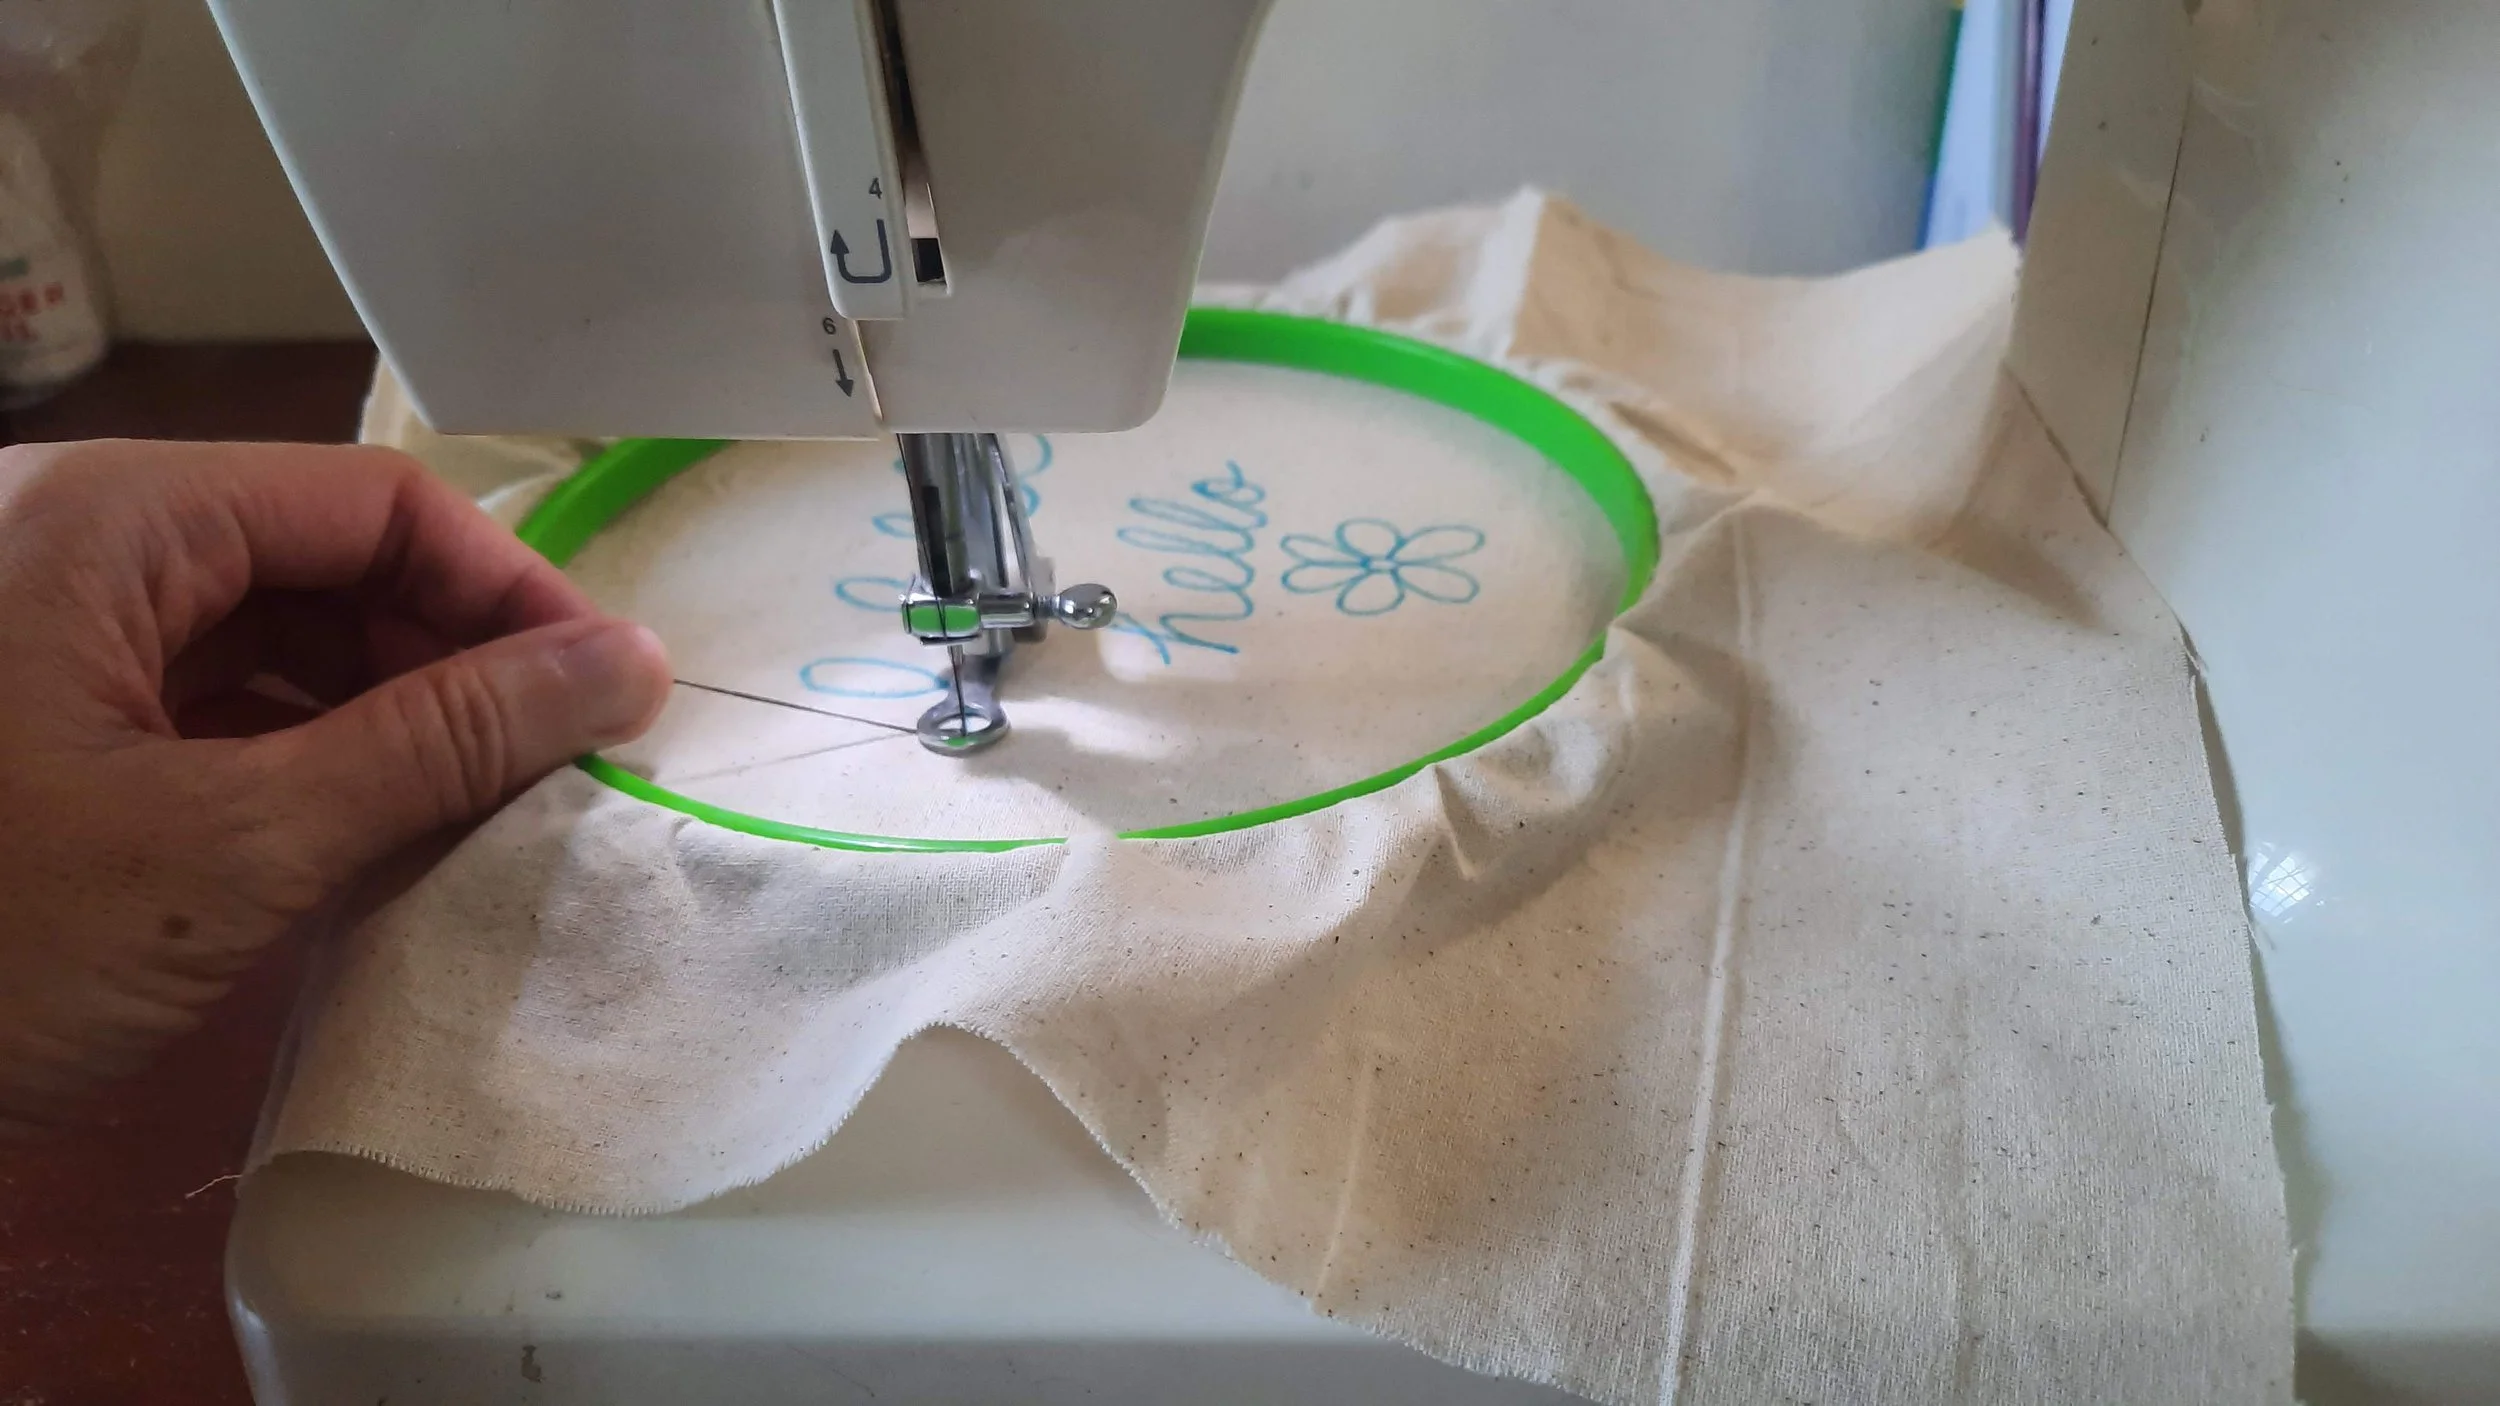
Start with small projects when you embark on free motion embroidery. This helps you build up your confidence in what you can create and how you can apply your new found skill.
A practice session could be just using the machine to draw out a flower, doodling or even just writing your name on the fabric. You can then progress to sewing these designs on to tea towels, pieces of scrap fabric for greeting cards, or even pouches.
I know of friends who were very ambitious and wanted to create huge projects at the beginning of their free motion embroidery journey, but sadly, there is the hidden danger of “Go big or go home”, and project failures early on may dampen your mood for this technique. So remember, to take baby steps!

Start small!
Plan Your Project
Once you start working on slightly bigger projects, you will need to plan. There will be times when you won’t be able to sew everything in one sitting, or a day. You will also need to take breaks to rest your eyes and body. There are no rules to this but, here are some things to take note of:
Divide the project up into parts
Think about where is a good point in the project that you can stop and that won’t interrupt your sewing flow. For example, if you were stitching a pot of flowers in a garden scene, would you group the stitching into a) grass; b) pots; and c) the flowers?
Where are the locations where you can “draw” in one continuous line?
Where are the parts of the projects where you want to build depth? May be this can be a section that can be sewn separately from the others.
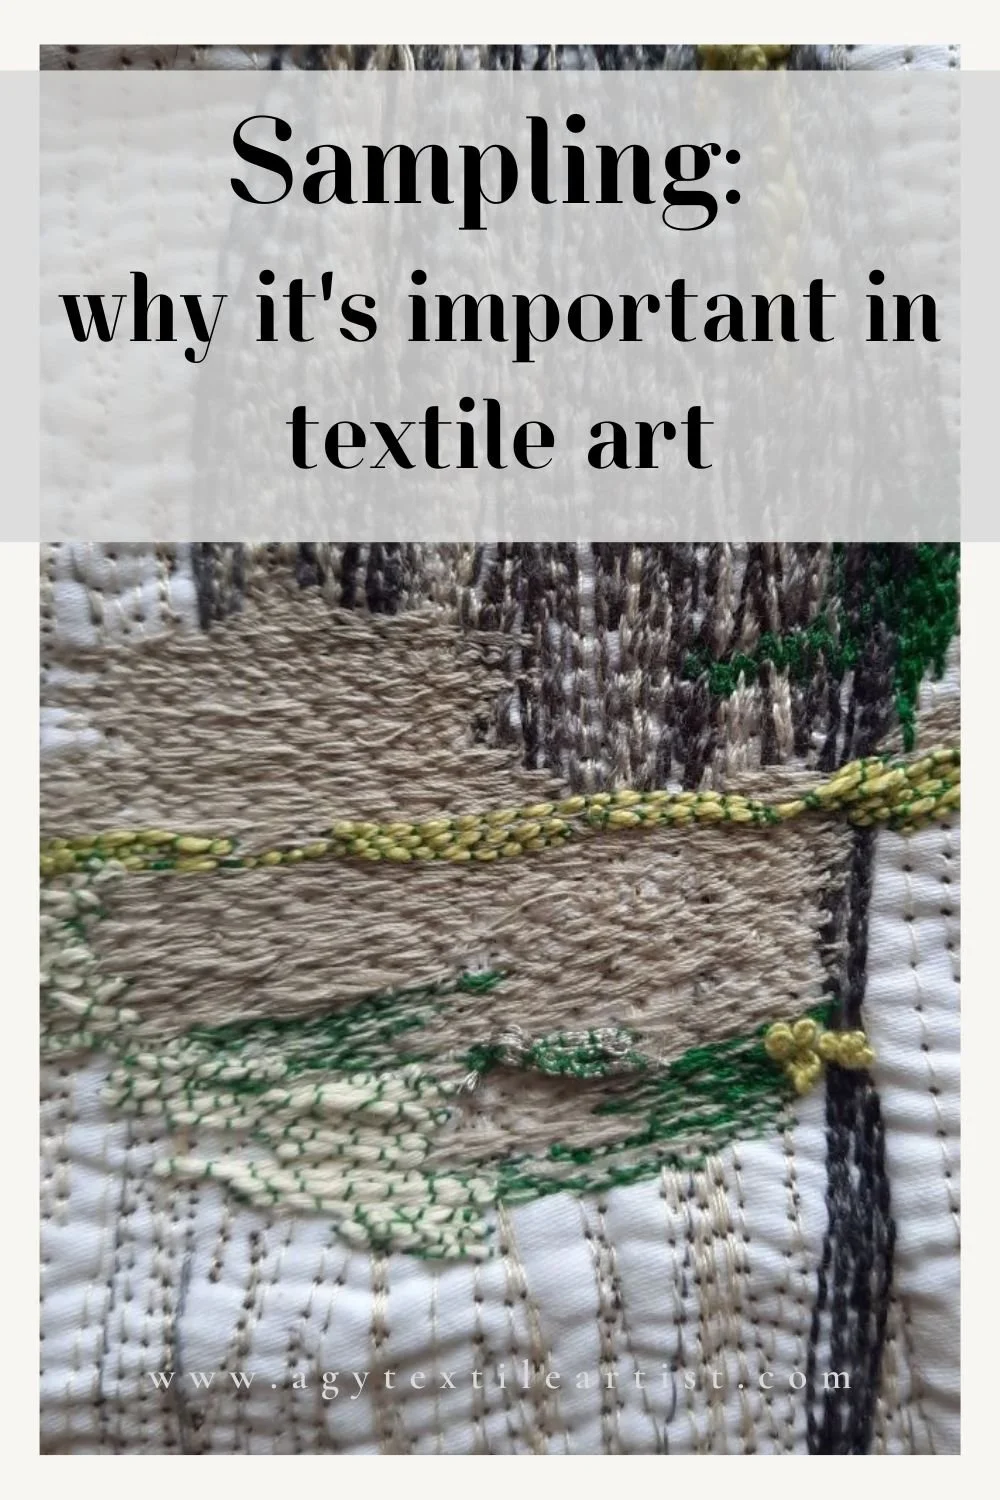
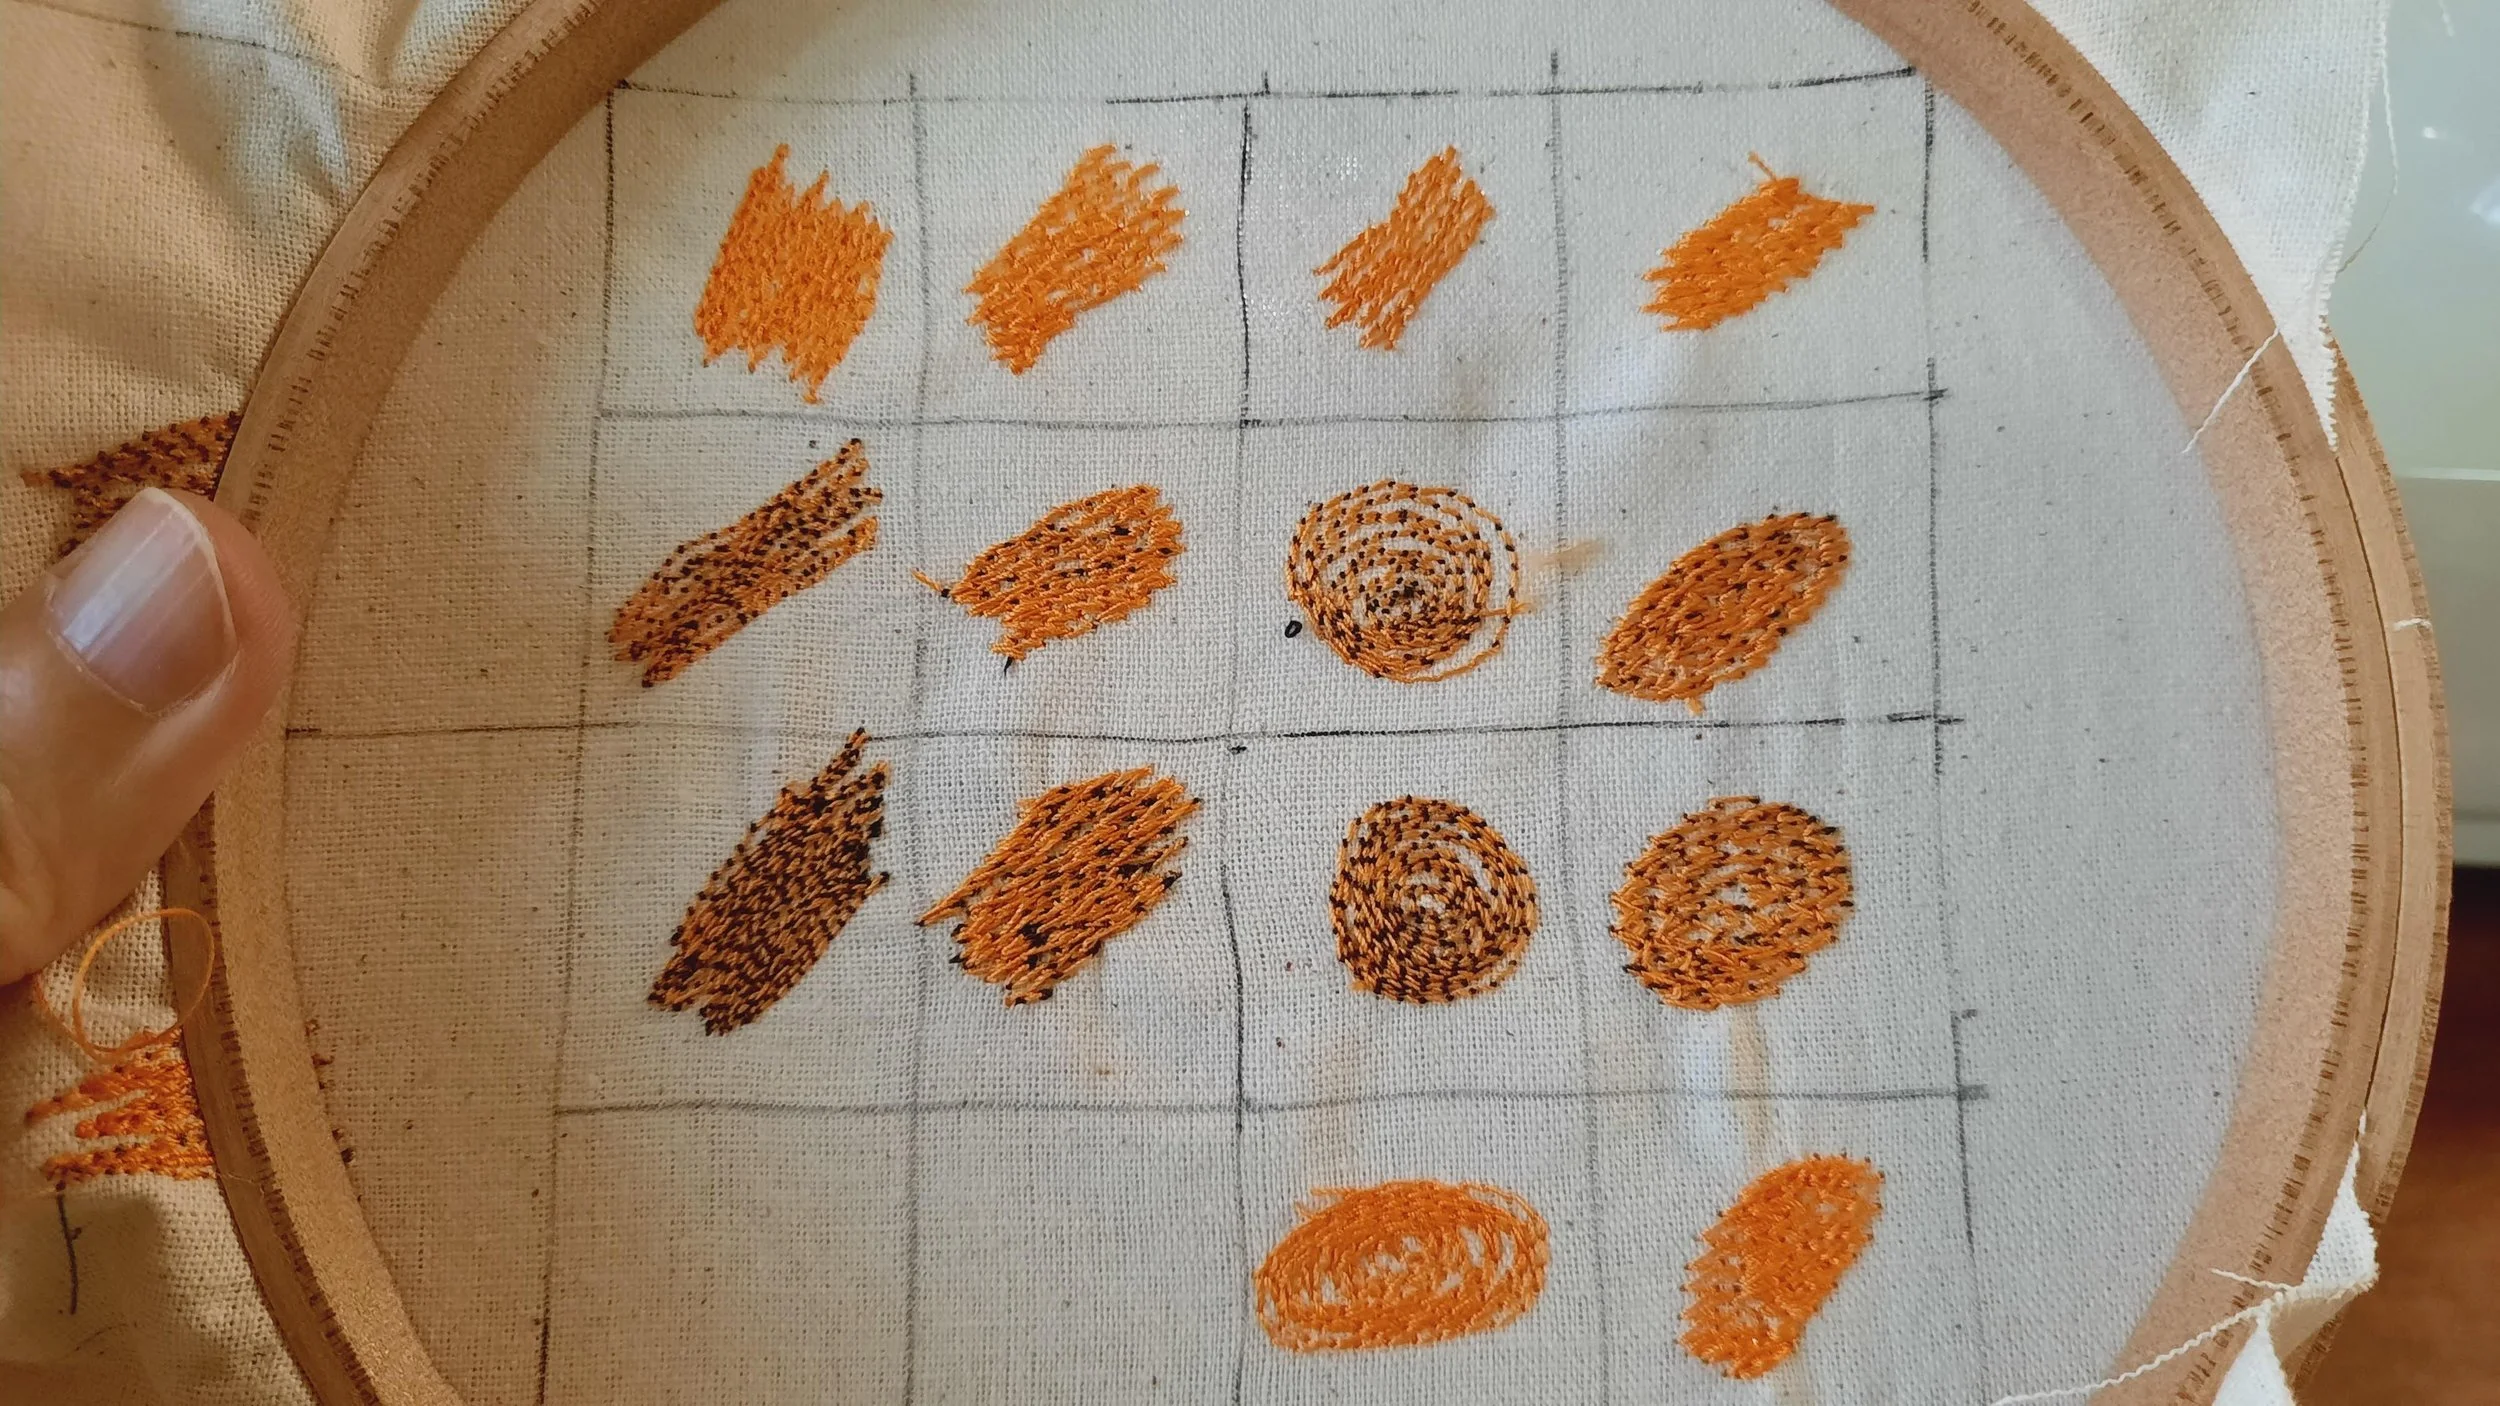
Do a Sampler First
You have a project and design in mind, and you have all your materials ready to go. Before you start on the project proper, always do a small sampler. I find that it is a good way of testing out the idea because:
You can see whether the coloured threads you bought are a fit with your project. I didn’t do a sampler once and the colours just didn’t look right, and I had wasted time and threads!
You can try out different colours in the top and bobbin to see if you’ve got the textures right. It ‘s always good to make a note of these so you can go back to them as reference.
You can test whether the machine is running smoothly - no jams, the correct tension etc. You definitely want everything in your favour before you start on your project.
Read more about how I sample here.
Go Slow and Steady
My golden rule when sewing anything is not to rush. Whenever this happens, I tend to make mistakes and miss out on the obvious. My most embarrassing thing to date is thinking my sewing machine wasn’t working. I called the sewing machine repair man to come over to my home to help me fix it as I was getting rather desperate (and I had a deadline!). It was the most expensive repair that I had paid for - SGD100 and all he did was tell me that the bobbin winder was not in the correct position! Which leads me to my next point….
Step Away ….. Taking Care of Yourself
…. I was probably tired too! Always remember to schedule in breaks in your sewing. For those of us who spend a lot of time behind the sewing machine, it’s very important to take breaks, stretch our bodies, and hands. Go for a walk, do something different, and before long, you’ll be back in the right frame of mind to start sewing again! If in doubt, make a cup of tea and have some biscuits! You deserve it.
Liked it? Pin this article!
Learn Free Motion Embroidery with Me!
Access anytime, anywhere.
𝗟𝗲𝗮𝗿𝗻 𝗳𝗿𝗲𝗲 𝗺𝗼𝘁𝗶𝗼𝗻 𝗲𝗺𝗯𝗿𝗼𝗶𝗱𝗲𝗿𝘆! Join this comprehensive workshop to master stress-free free motion embroidery! I'll guide you through setting up and maintaining your sewing machine for seamless FME. Learn essential tips and tricks for your first sketch and explore how I translate nature into stitch with patterns of my favorite weeds and corals. To ensure a smooth start, you'll receive a troubleshooting guide to help manage any oops moments!
Payments through this site are taken through PayPal or Stripe in Singapore dollars (SGD). Approximate rates are provided in other currencies
If you want to read up on the technical aspects on how to start on free motion embroidery, please go to my earlier blog post!