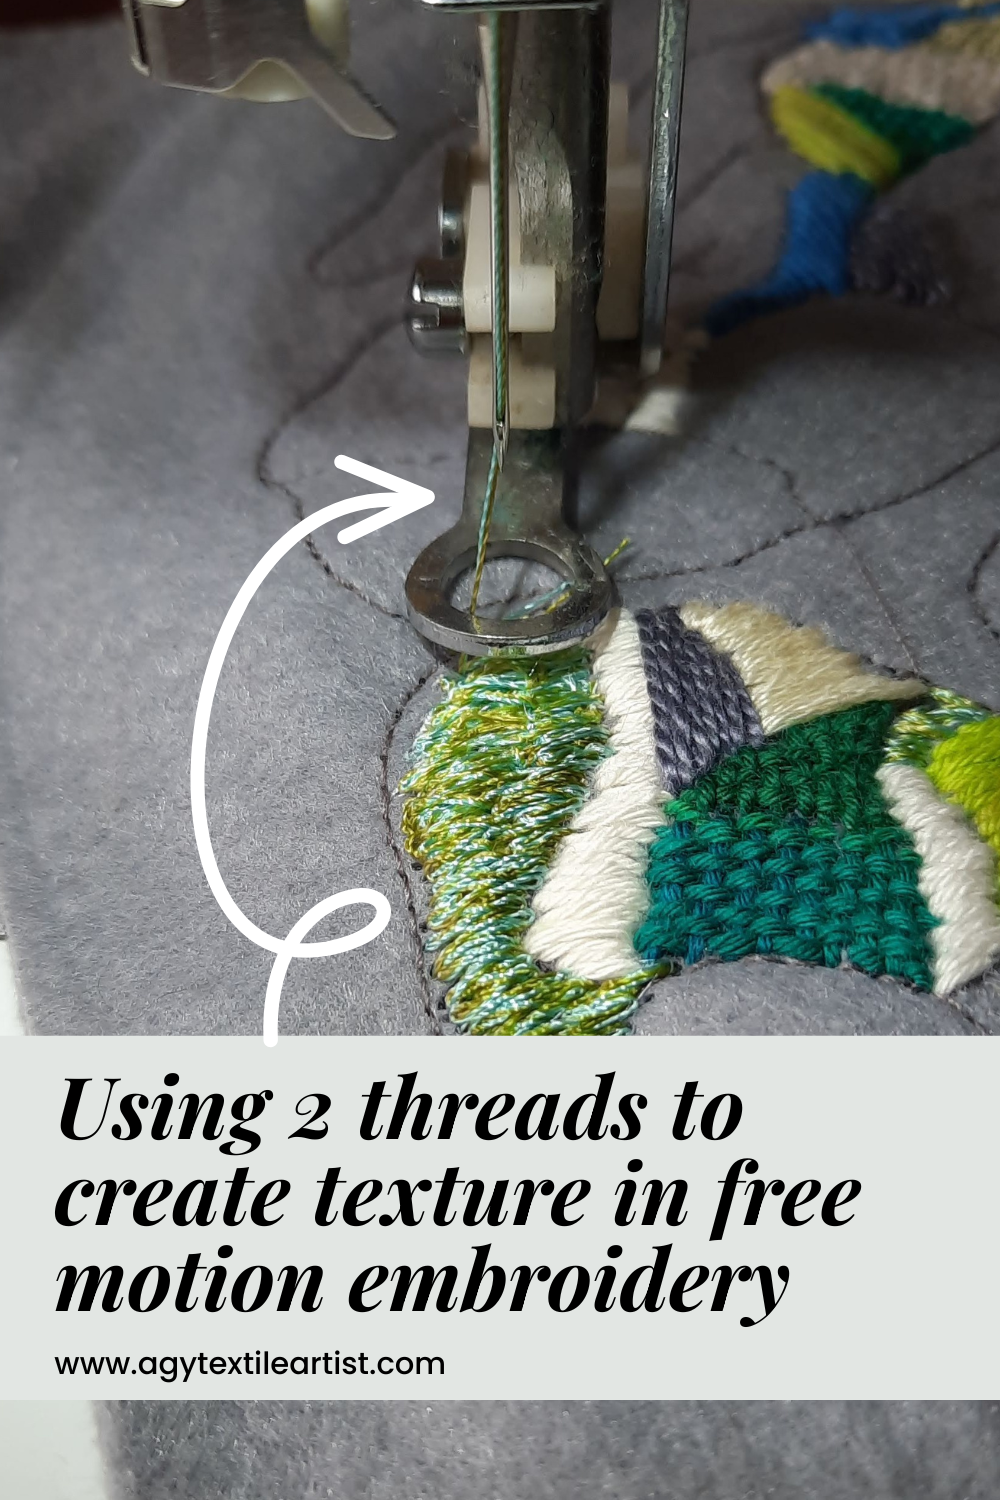
Double Threading - 2 Threads in One Needle
Why Sew with 2 Threads?
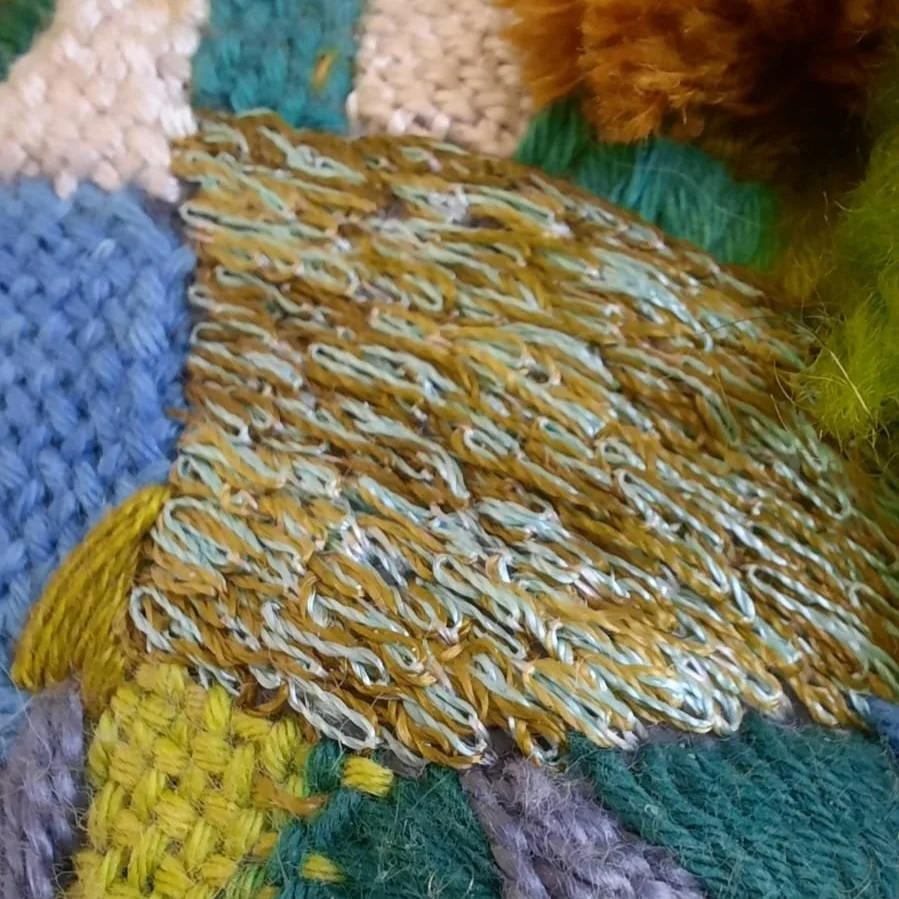
Have you ever tried to combine two different coloured threads in one needle to create a textured surface on your work? I love using this technique in free motion embroidery—it brings an extra layer of depth and visual interest to my work. As you can see in my latest moss-inspired work for the Singapore Sculpture Society exhibition, I layered blue and green rayon threads to recreate the rich, lush appearance of moss. My sewing machine was put on the zig zag stitch setting to add extra depth and raise the stitching. Using two threads on a straight stitch setting gives a completely different texture as you can see in the images below.
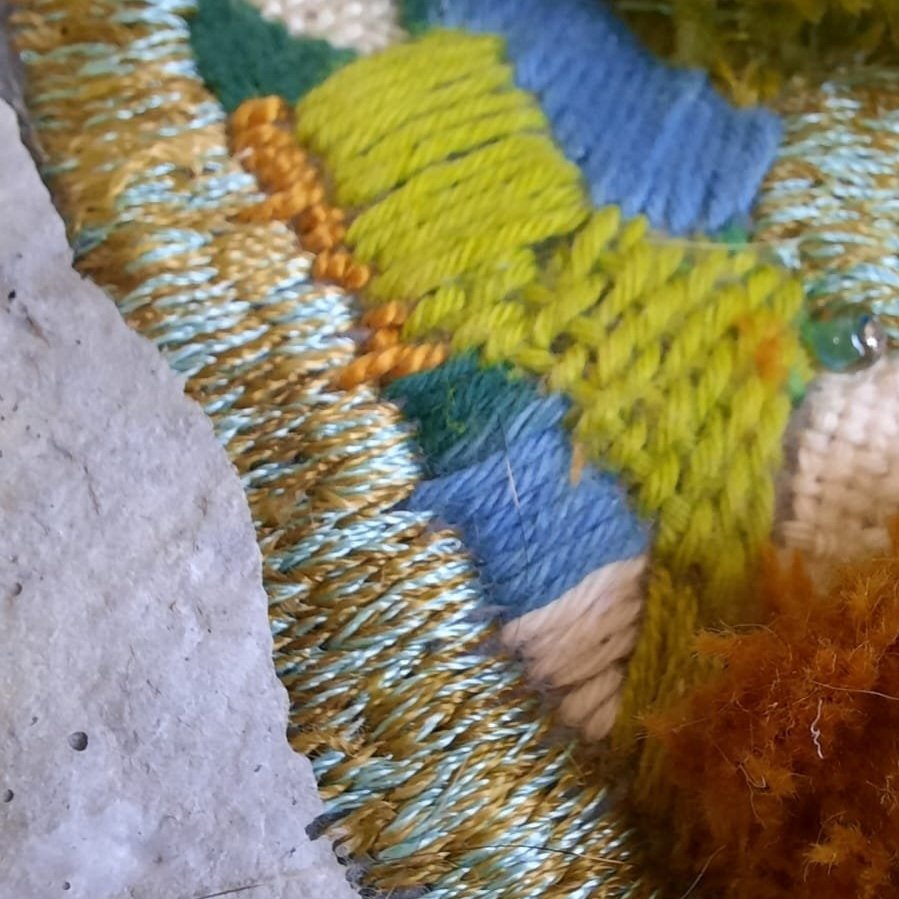
Two threads on zig zag stitch setting
Two threads on zig zag stitch setting
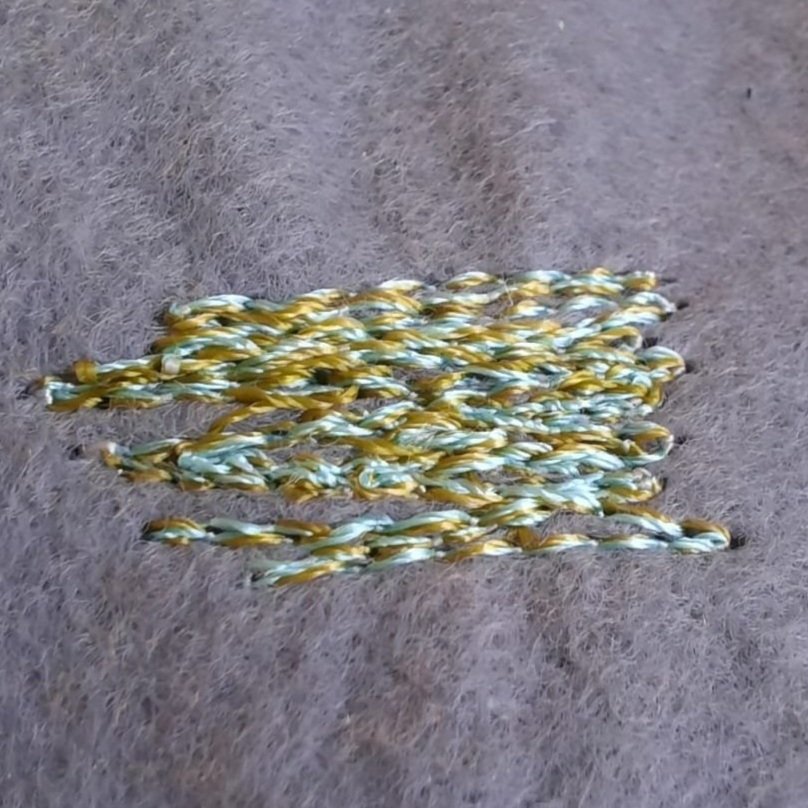
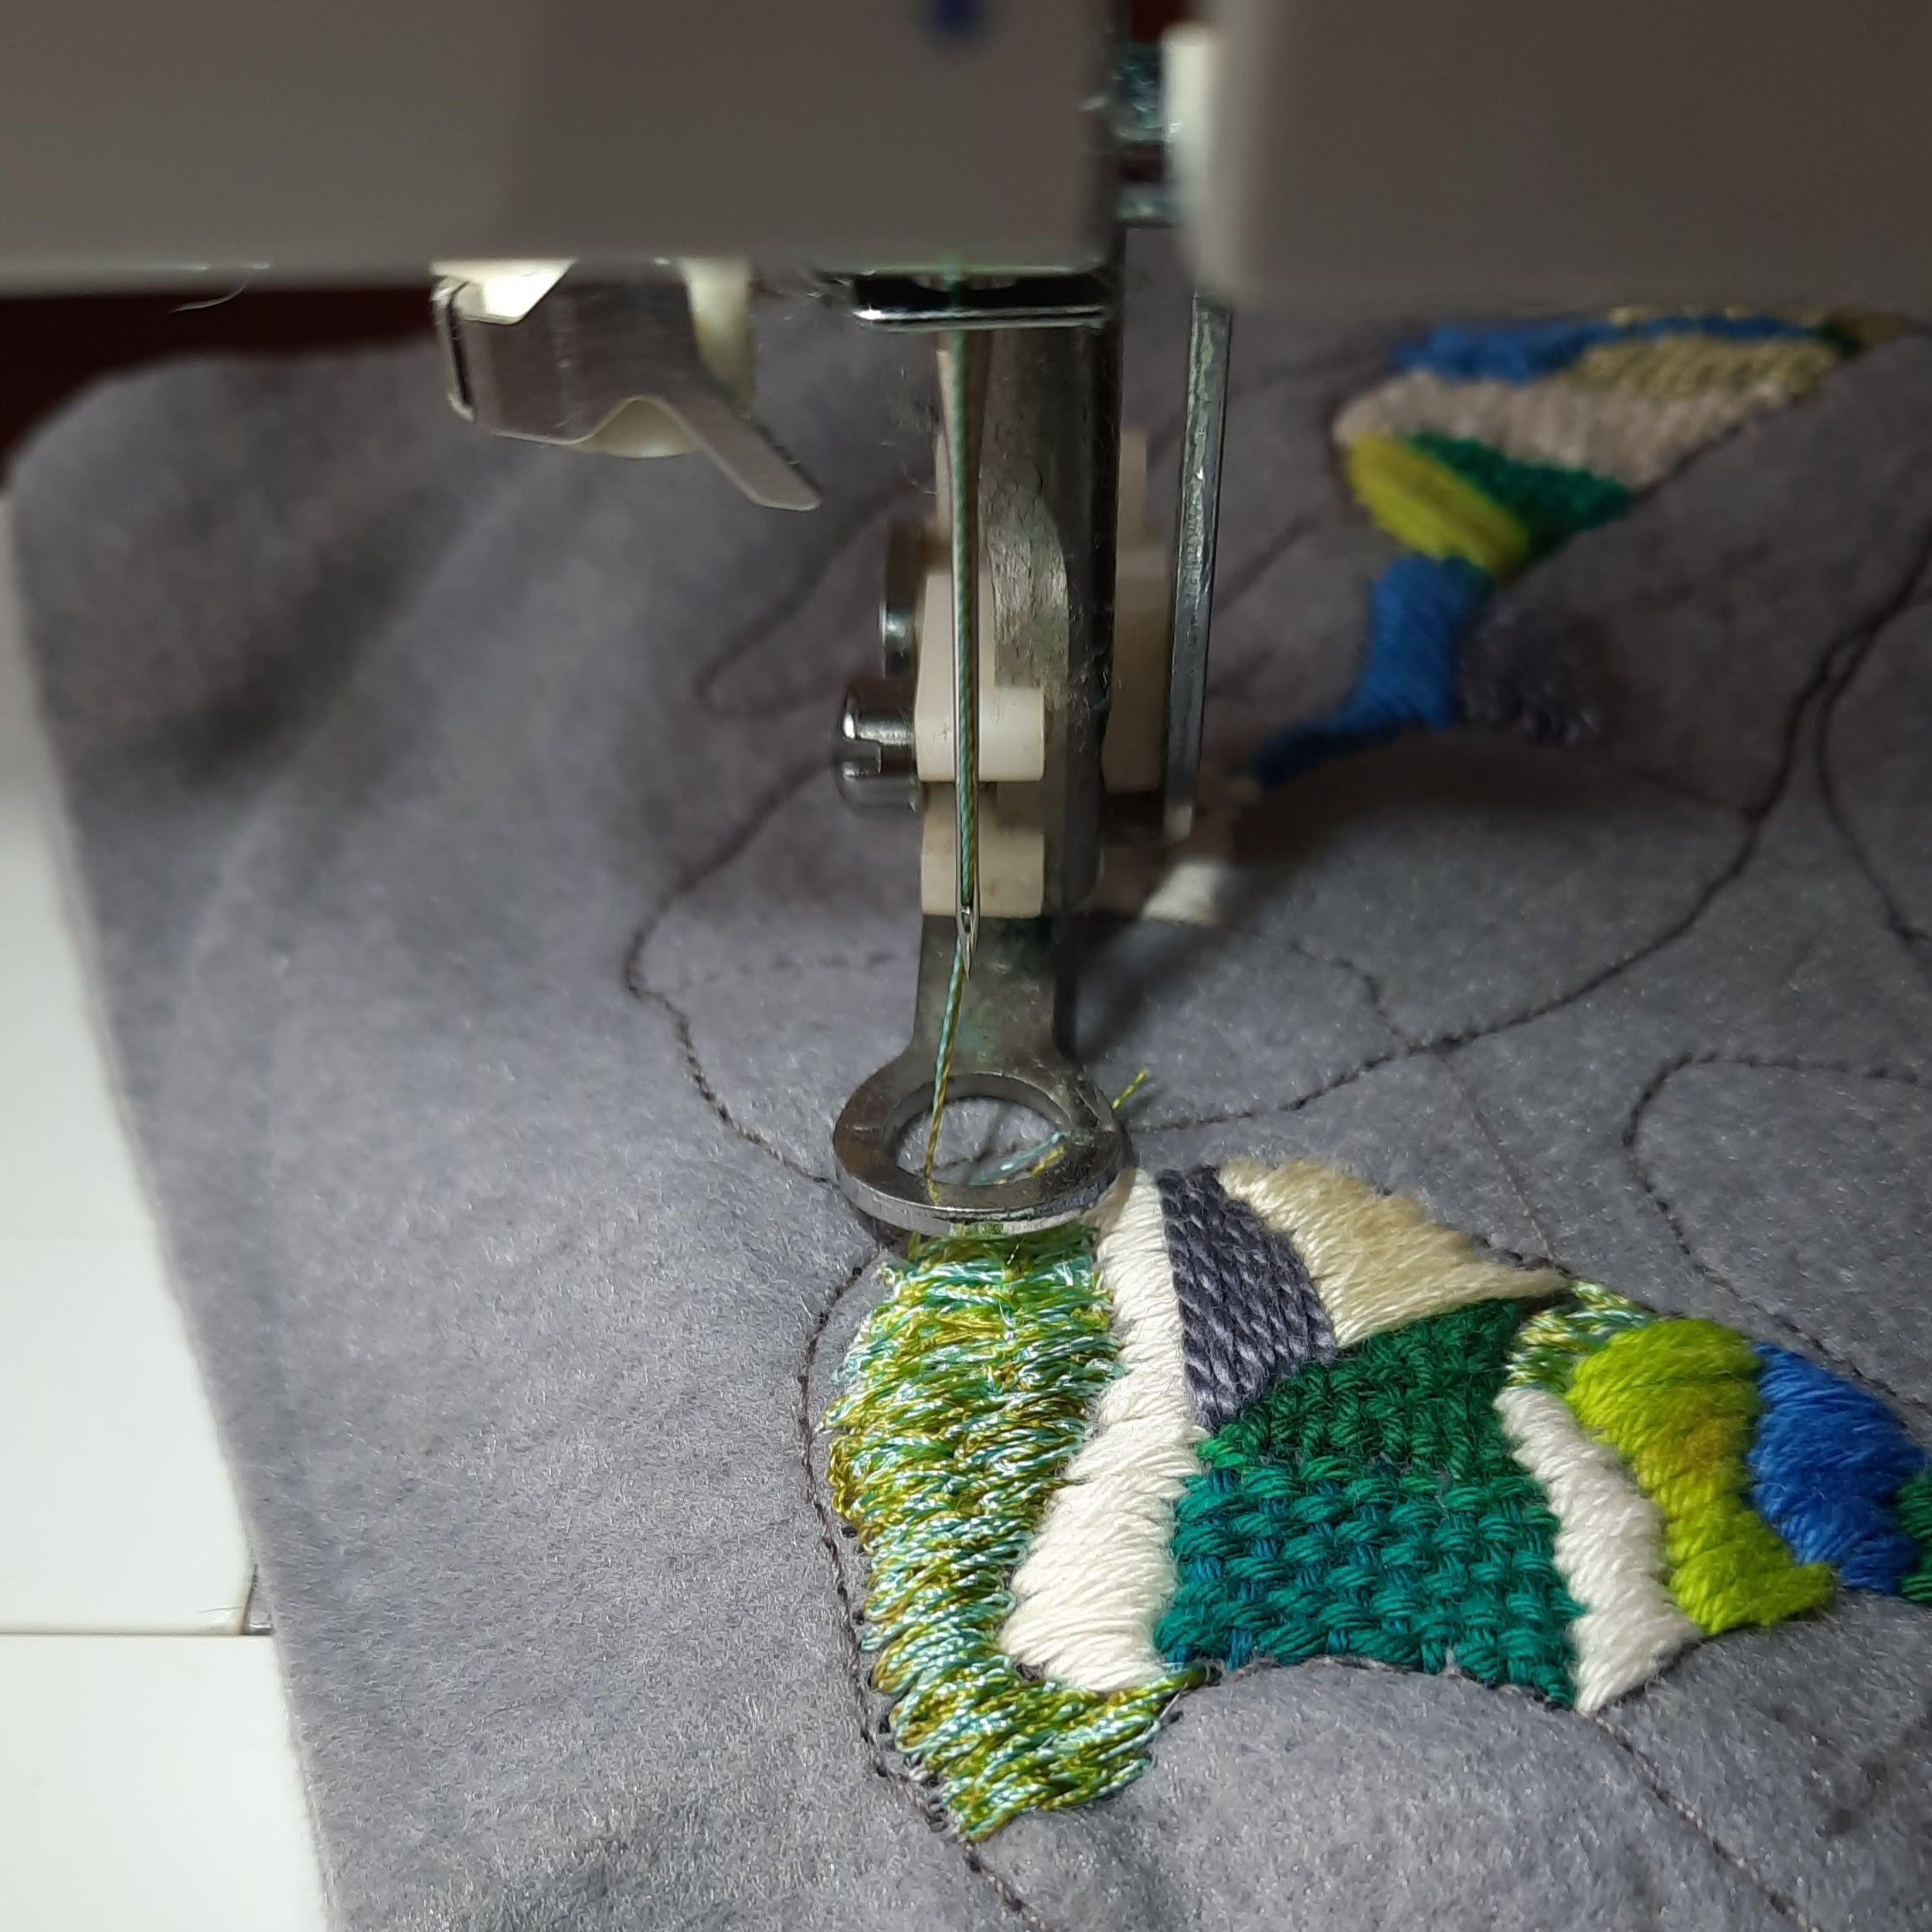
Two threads on a straight stitch setting
What about the Double Needle?
Yes, there are double needles available in haberdasheries for double threaded sewing. I wanted to try it out and compare the sewing result with the 2 thread in one needle option. I purchased a set; however, I haven’t had much success. No matter what I adjusted on the sewing machine (type of thread, tension, needles, etc.), I couldn’t get a continuous line of sewing; the threads kept snapping. I searched online and sought advice but I could not get any resolution. So it seems I will need to stick to my current method of 2 thread in one needle option!
How Do You Sew Successfully with Two Threads in One Needle?
Here are some tips to help you get started:
Choose the right needle: Since you're working with two threads, make sure the needle's eye is large enough to allow both to pass through smoothly. At the same time, your needle must be suitable for the type of fabric you're stitching on. For example, a topstitch is a better choice than a needle for silks if you are sewing on thicker fabrics.
Use compatible threads: Select threads of similar weight and material to avoid uneven tension. If one thread is significantly thicker or stretchier than the other, it could cause breakage or inconsistent stitches.
Thread them together: Thread both strands through the needle at the same time rather than one after the other. This helps keep the tension more balanced between them.
Consider spool placement: Position your spools so the threads unwind smoothly and evenly. If your machine allows, place them on separate spool holder to prevent tangling. My sewing machine has one spool holder, so I have one spool placed here, while the second one is put in a clear jar behind the sewing machine. Under these circumstances, I need to ensure that the thread from the jar is not obstructed so as to ensure the tension is not disrupted. You can also purchase a second spool holder, or even make your own; I have seen some sewing enthusiasts stick a chopstick to their sewing machine! Just ensure that the spool turns smoothly during the sewing!
Sample first! Before you work on the actual piece, please remember to sample and try out the stitches so that you have an idea what it will look like. I wrote about the importance of sampling here.
Give this Technique a Try!
For me, sewing with two threads is a simple way to add depth and a touch of surprise to my embroidery. Every combination of colour and texture brings my work closer to what I imagine in my mind. Maybe it’ll do the same for you too.