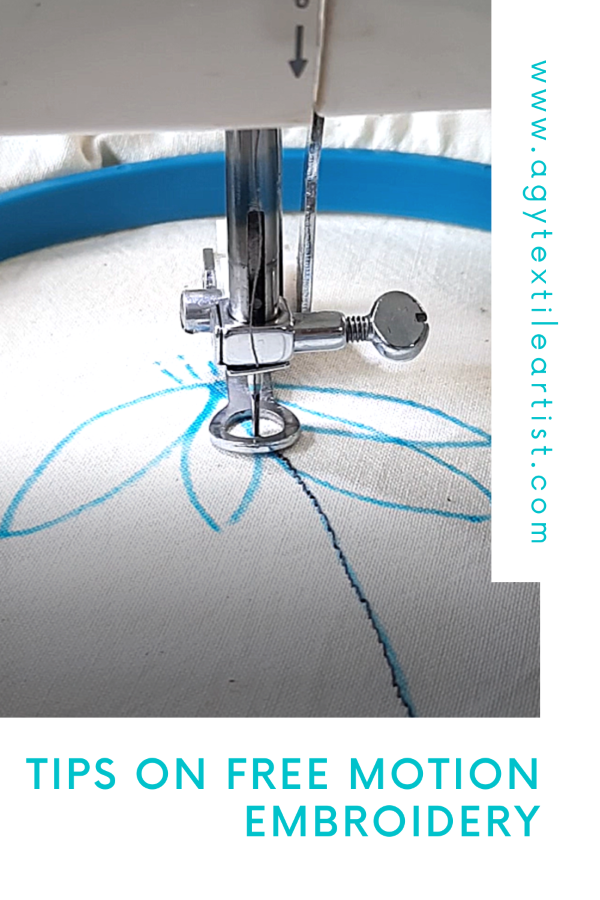
Tips on Free Motion Embroidery
I’ve had a few questions on how to start with free motion embroidery, and the week before, I conducted a live Instagram session to answer all your questions. It has been uploaded on Youtube and you can view it below as well, but I thought it would be useful to summarise a few essential points to get you all going.
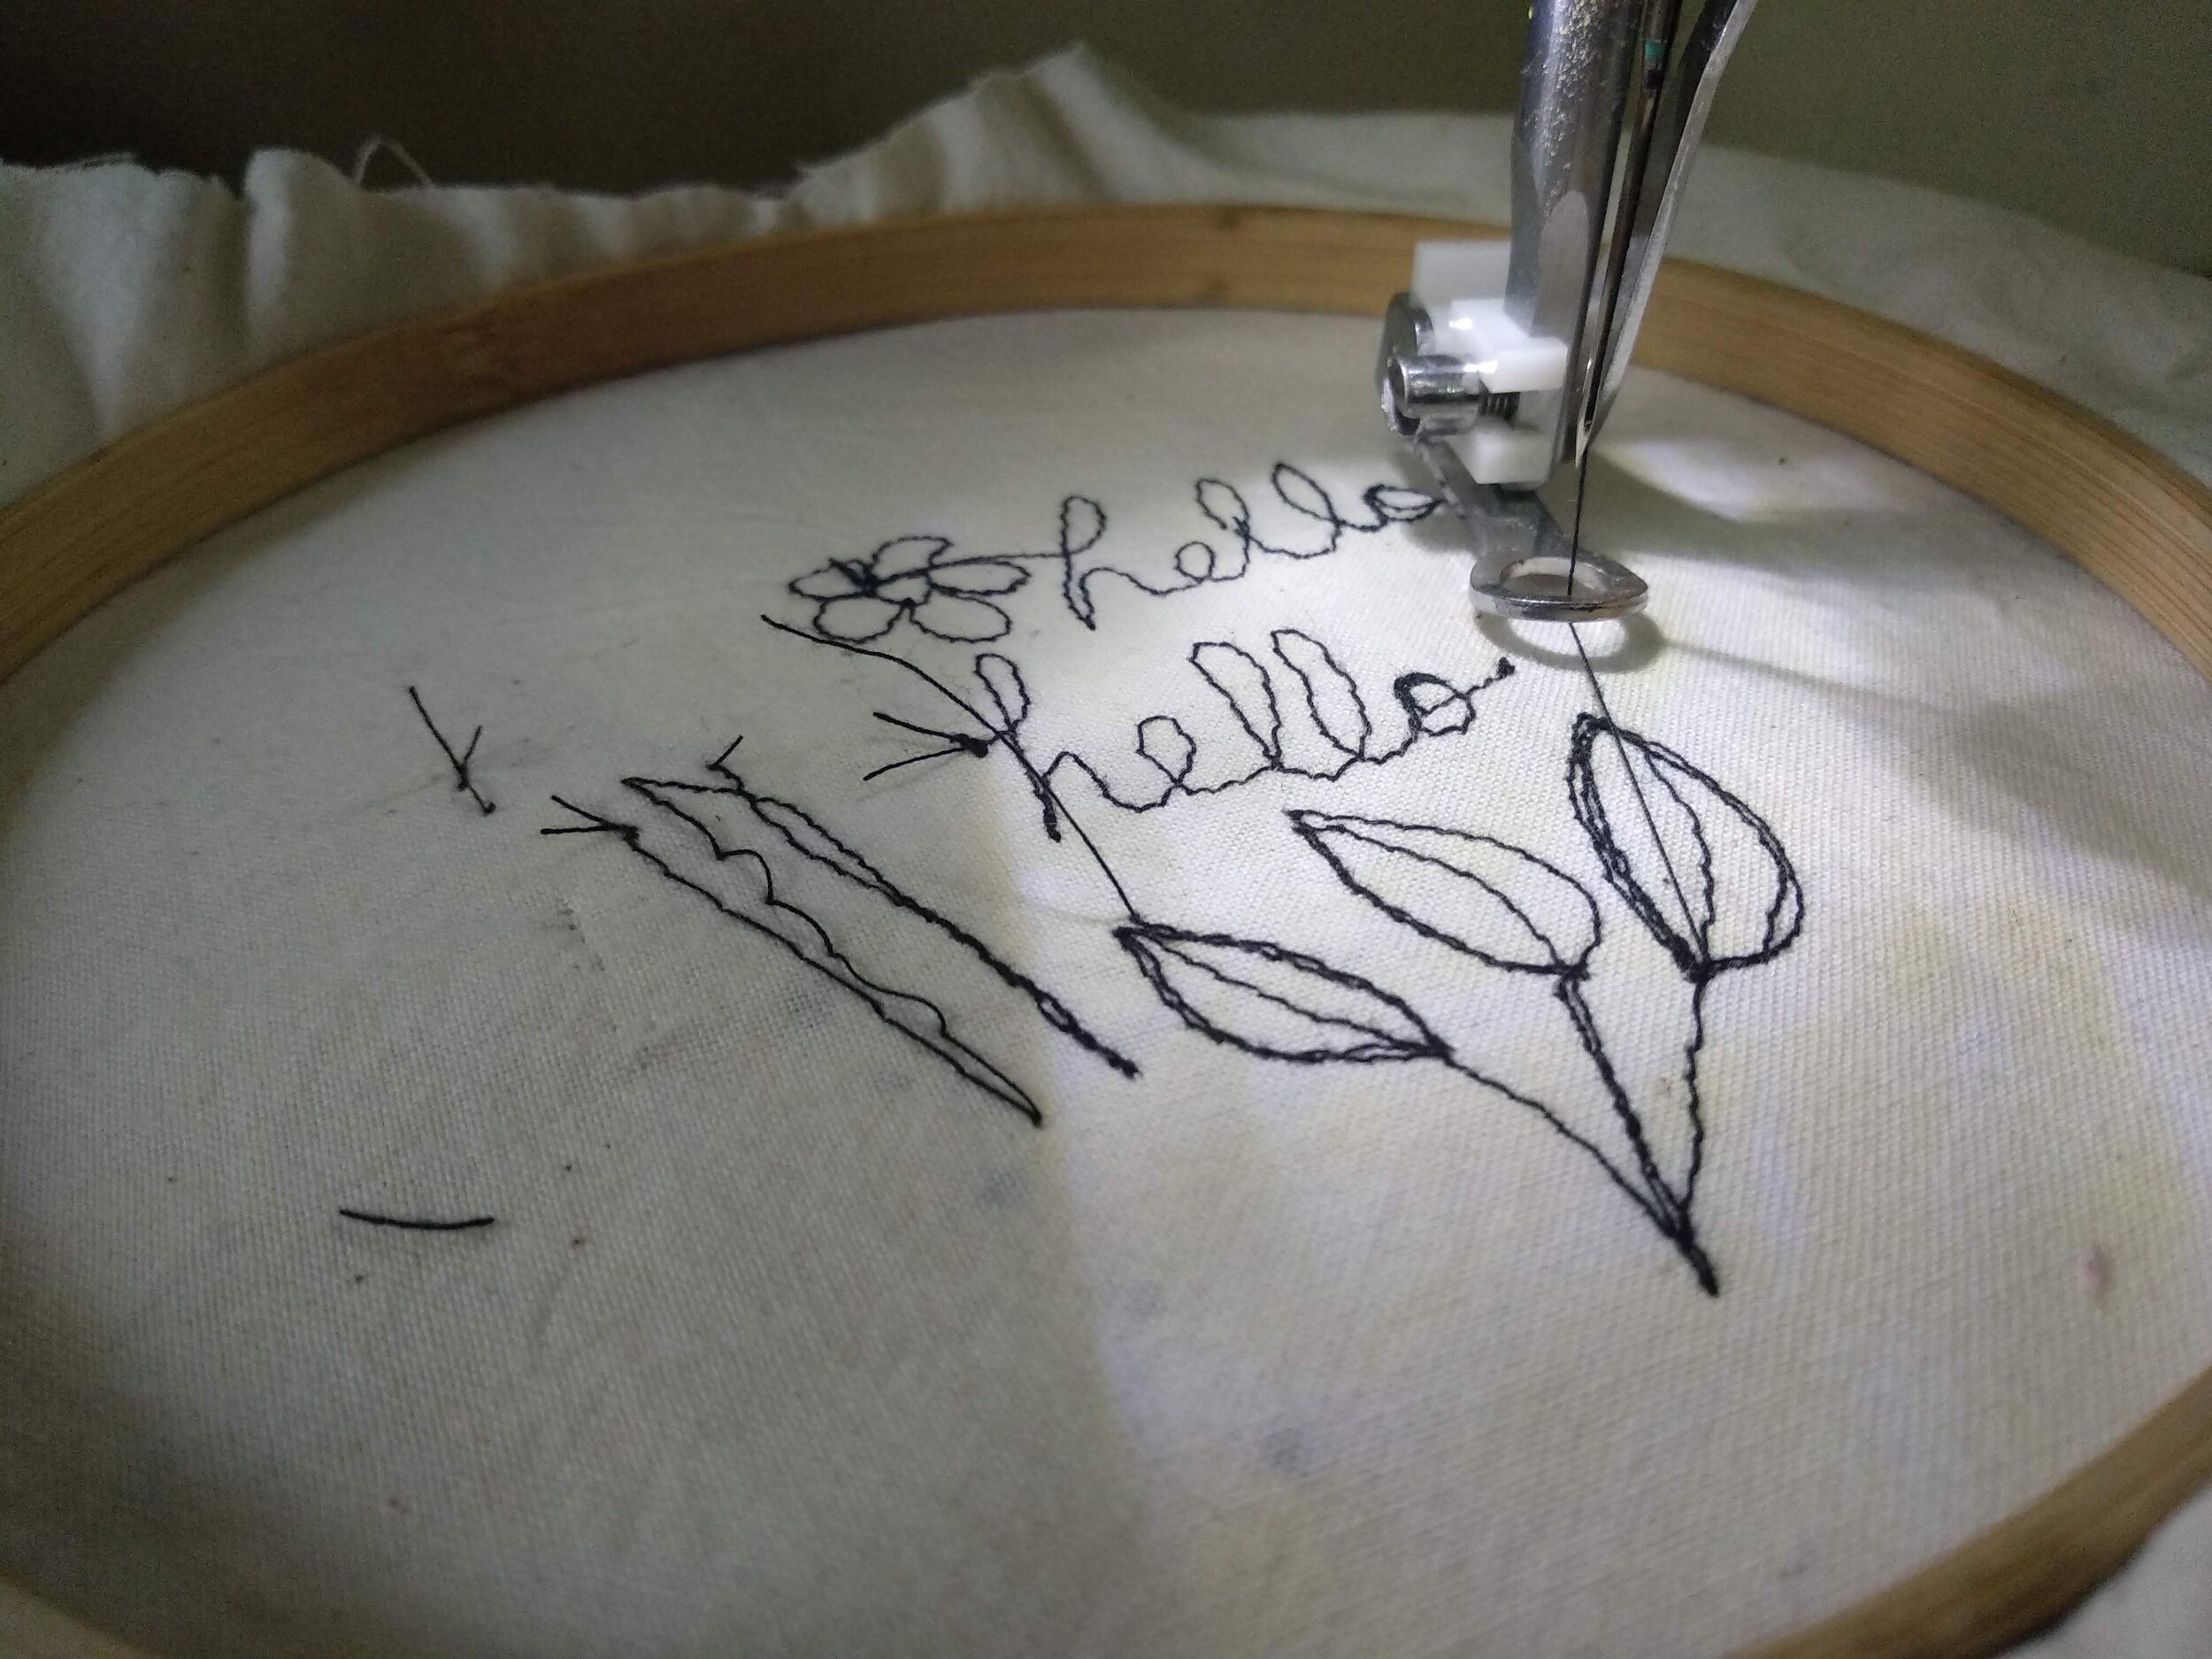
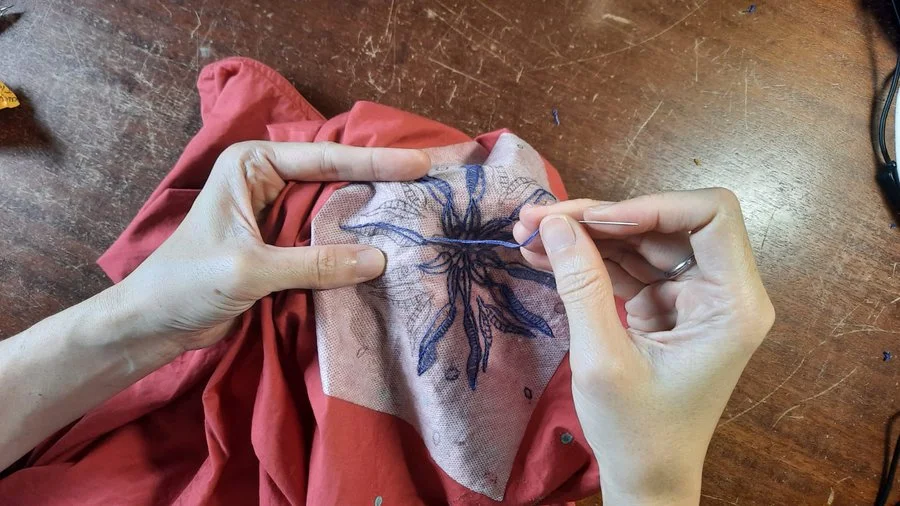
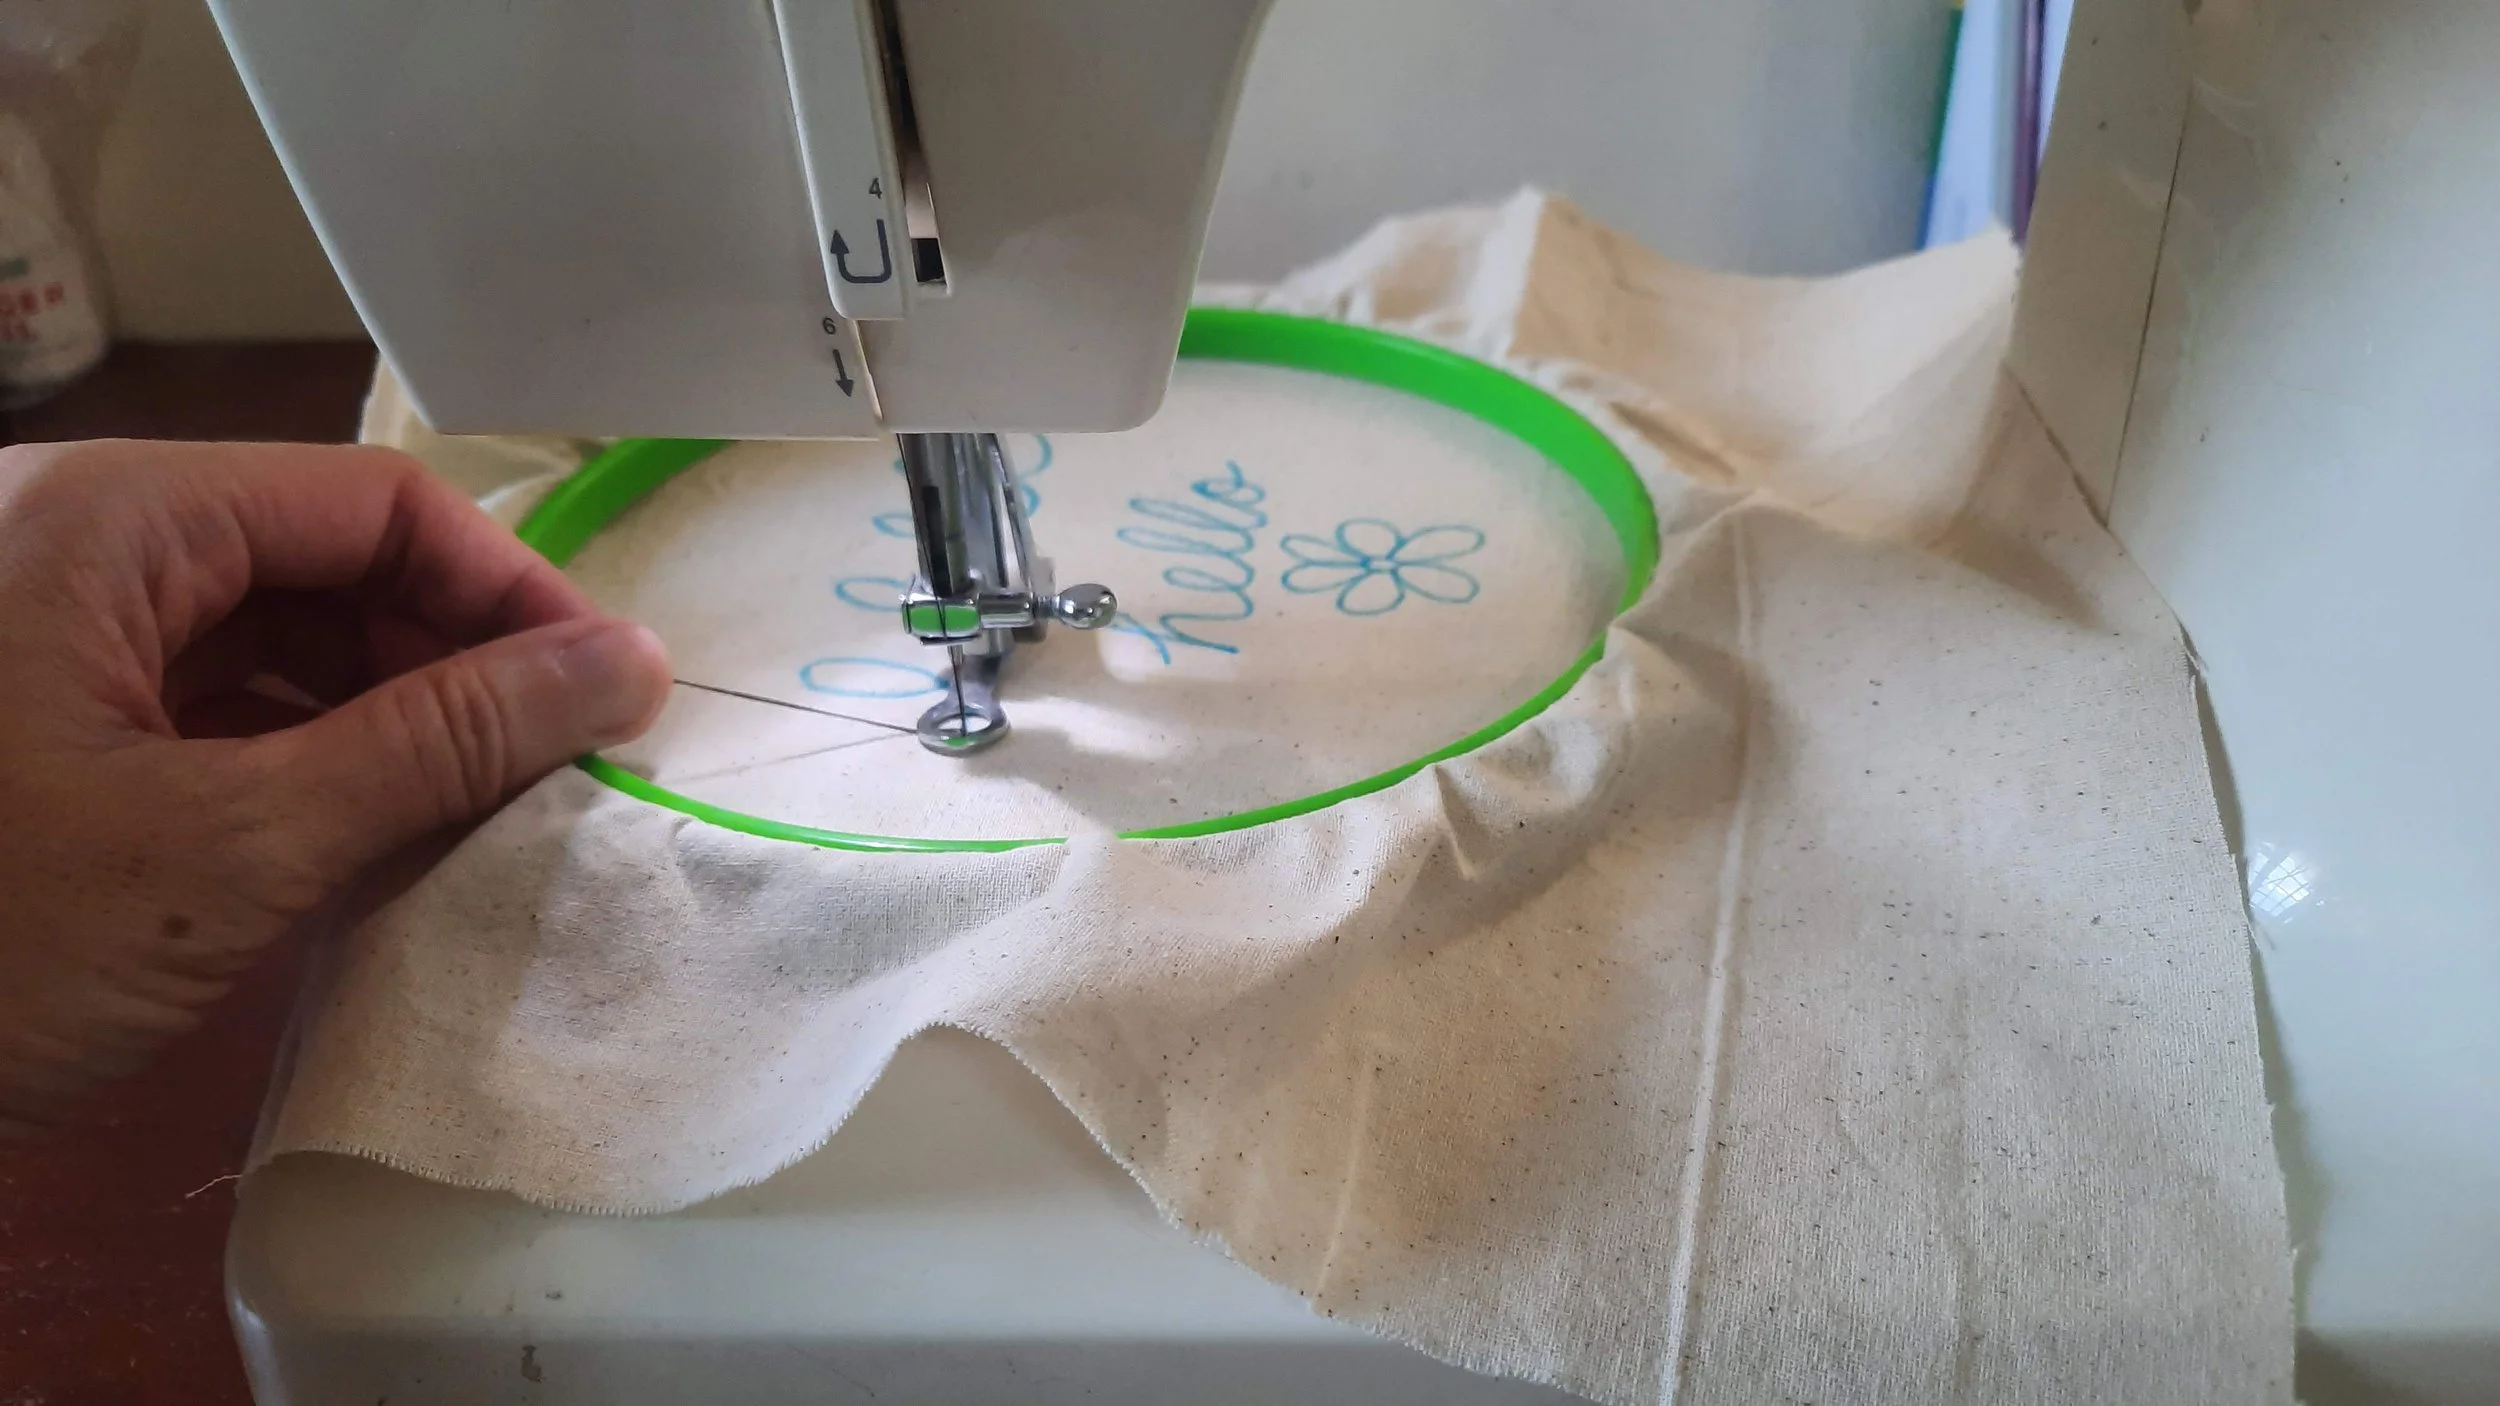
Free Motion Embroidery
Sewing Machine
You don’t need a fancy sewing machine for free motion embroidery. Mine is a SINGER 1100. Just make sure that you have it cleaned and maintained regularly and you are good to go. You will, however, need the following adjustments to make the machine work for you in free motion embroidery:
Darning footer - change your footer and ensured it’s screwed on tight because don’t want it flying off during the free motion embroidery and hurting you. Be sure to check that you have the right darning footer that matches your sewing machine model.
Cover the feed dogs - my sewing machine came with a little plastic cover to cover the feed dogs. Some machines, however, have a function to drop the feed dogs instead. Check your sewing machine manual on what works for you.
Set the stitch length to zero - free motion embroidery is all about the artist (that’s you) controlling the depth and length of the stitches (not the machine). Set the stitch length to zero and let your hands do the talking!
Needles, Threads and Hoops
Needles
I love to use top-stitch needles and that’s because my fabric collages are layered, requiring a sturdy needle. It’s important that the needle is changed regularly so that you can achieve the textures you want. A blunt or bent needle will lead to the sewing machine to jam. I always keep a bottle of nail varnish remover handy to give the needle a good wipe - if you are sewing through many layers of different textures and materials, the needle will end up getting dirty.
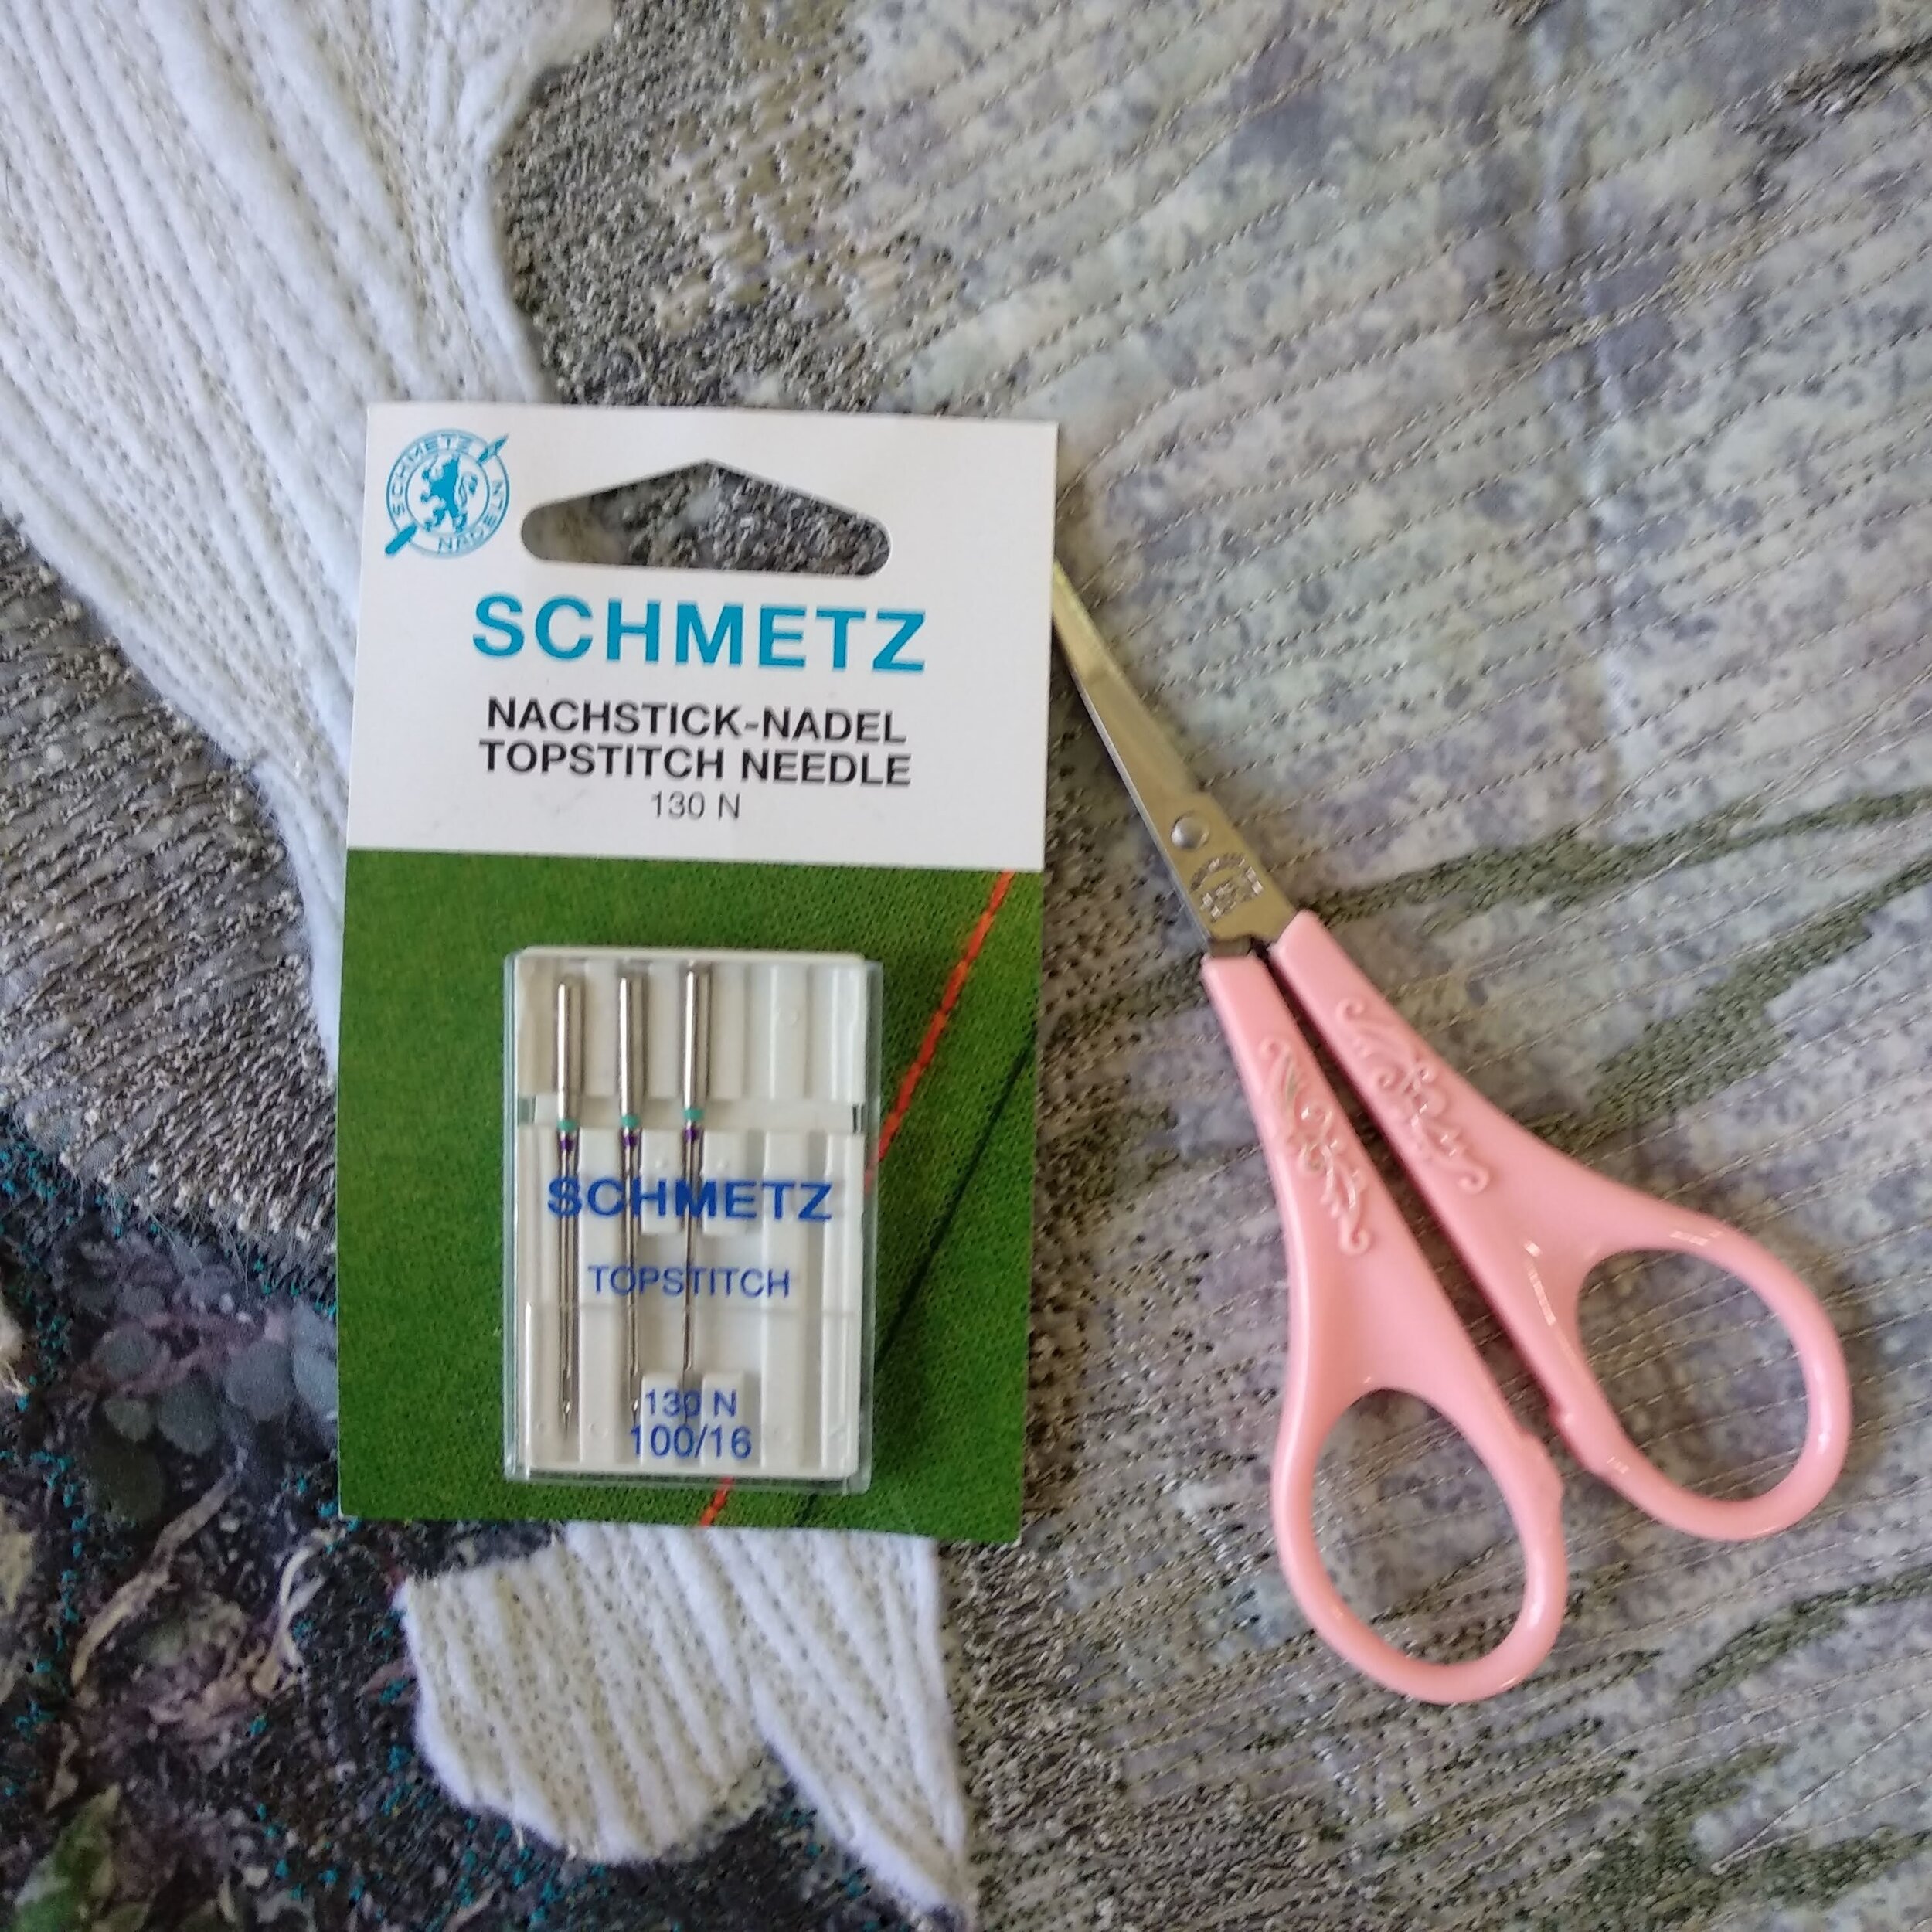
Choose the right needles for your free motion embroidery project
Threads
There are so many different varieties of thread that we are spoilt for choice when it comes to creating depth and colours on an art piece. One key thing to note when using threads is to choose quality first. If you look and compare the poor quality ones with higher end spools of thread (e.g. Guttermann and DMC), you will notice that the latter do not shed a lot of lint. Less lint means less damage to your sewing machine!
Hoops
You will need an embroidery hoop to stabilise your fabric as you sew. To keep the fabric taught, it is useful to wrap one of the hoops with scrap fabric, or you can use self-adhesive bandage!
Be Patient!
As with all sewing projects, it’s always important to plan ahead and be patient, and that includes when the sewing machine jams. Always remember to:
Check that you’ve threaded the machine properly
The needle is not an old one - change it if in doubt
There is no lint in the machine - it’s always a good habit to clean the machine after each sewing project.
Be patient - it’s easy not to be especially after planning ahead. Always go through a checklist of things to look out for when the machine jams. Check out my previous post on “How to Troubleshoot Your Sewing Machine” and also “How to Maintain Your Sewing Machine”
Start small - as with anything new that you pick up, start with something simple like writing your name, and slowly build up from there!
Have you tried free motion embroidery or do you have any questions? Let me know in the comments below!
Don’t forget to pin me!
Sign up for my online free motion embroidery workshop
𝗟𝗲𝗮𝗿𝗻 𝗳𝗿𝗲𝗲 𝗺𝗼𝘁𝗶𝗼𝗻 𝗲𝗺𝗯𝗿𝗼𝗶𝗱𝗲𝗿𝘆! Join this comprehensive workshop to master stress-free free motion embroidery! I'll guide you through setting up and maintaining your sewing machine for seamless FME. Learn essential tips and tricks for your first sketch and explore how I translate nature into stitch with patterns of my favorite weeds and corals. To ensure a smooth start, you'll receive a troubleshooting guide to help manage any oops moments!
Payments through this site are taken through PayPal or Stripe in Singapore dollars (SGD). Approximate rates are provided in other currencies
Enjoyed this post? You might like these tips too.