Making My Coral Fossils Part 1

I bought a coral fossil pendant last year. I was very intrigued by the shapes of the honeycomb like patterns within the fossil, and went down a rabbit hole looking for more information about them. According to this website, they are the
“result of fossilized coral colonies which date back approximately three hundred and fifty million years…… “Fossilized coral is part of an extinct species of coral that lived in the sea millions of years ago. Hexagonaria as it's officially known is one of the most common varieties.”
Due to changes in land and sea levels, the living corals become buried in sediment, and over time, they become compacted and slowly turn to stone. This process is called petrification, resulting in parts of the coral tissue is replaced by natural minerals including calcite and silica.
It’s fascinating how I’m holding something so old!

Creating My Own Coral Fossils
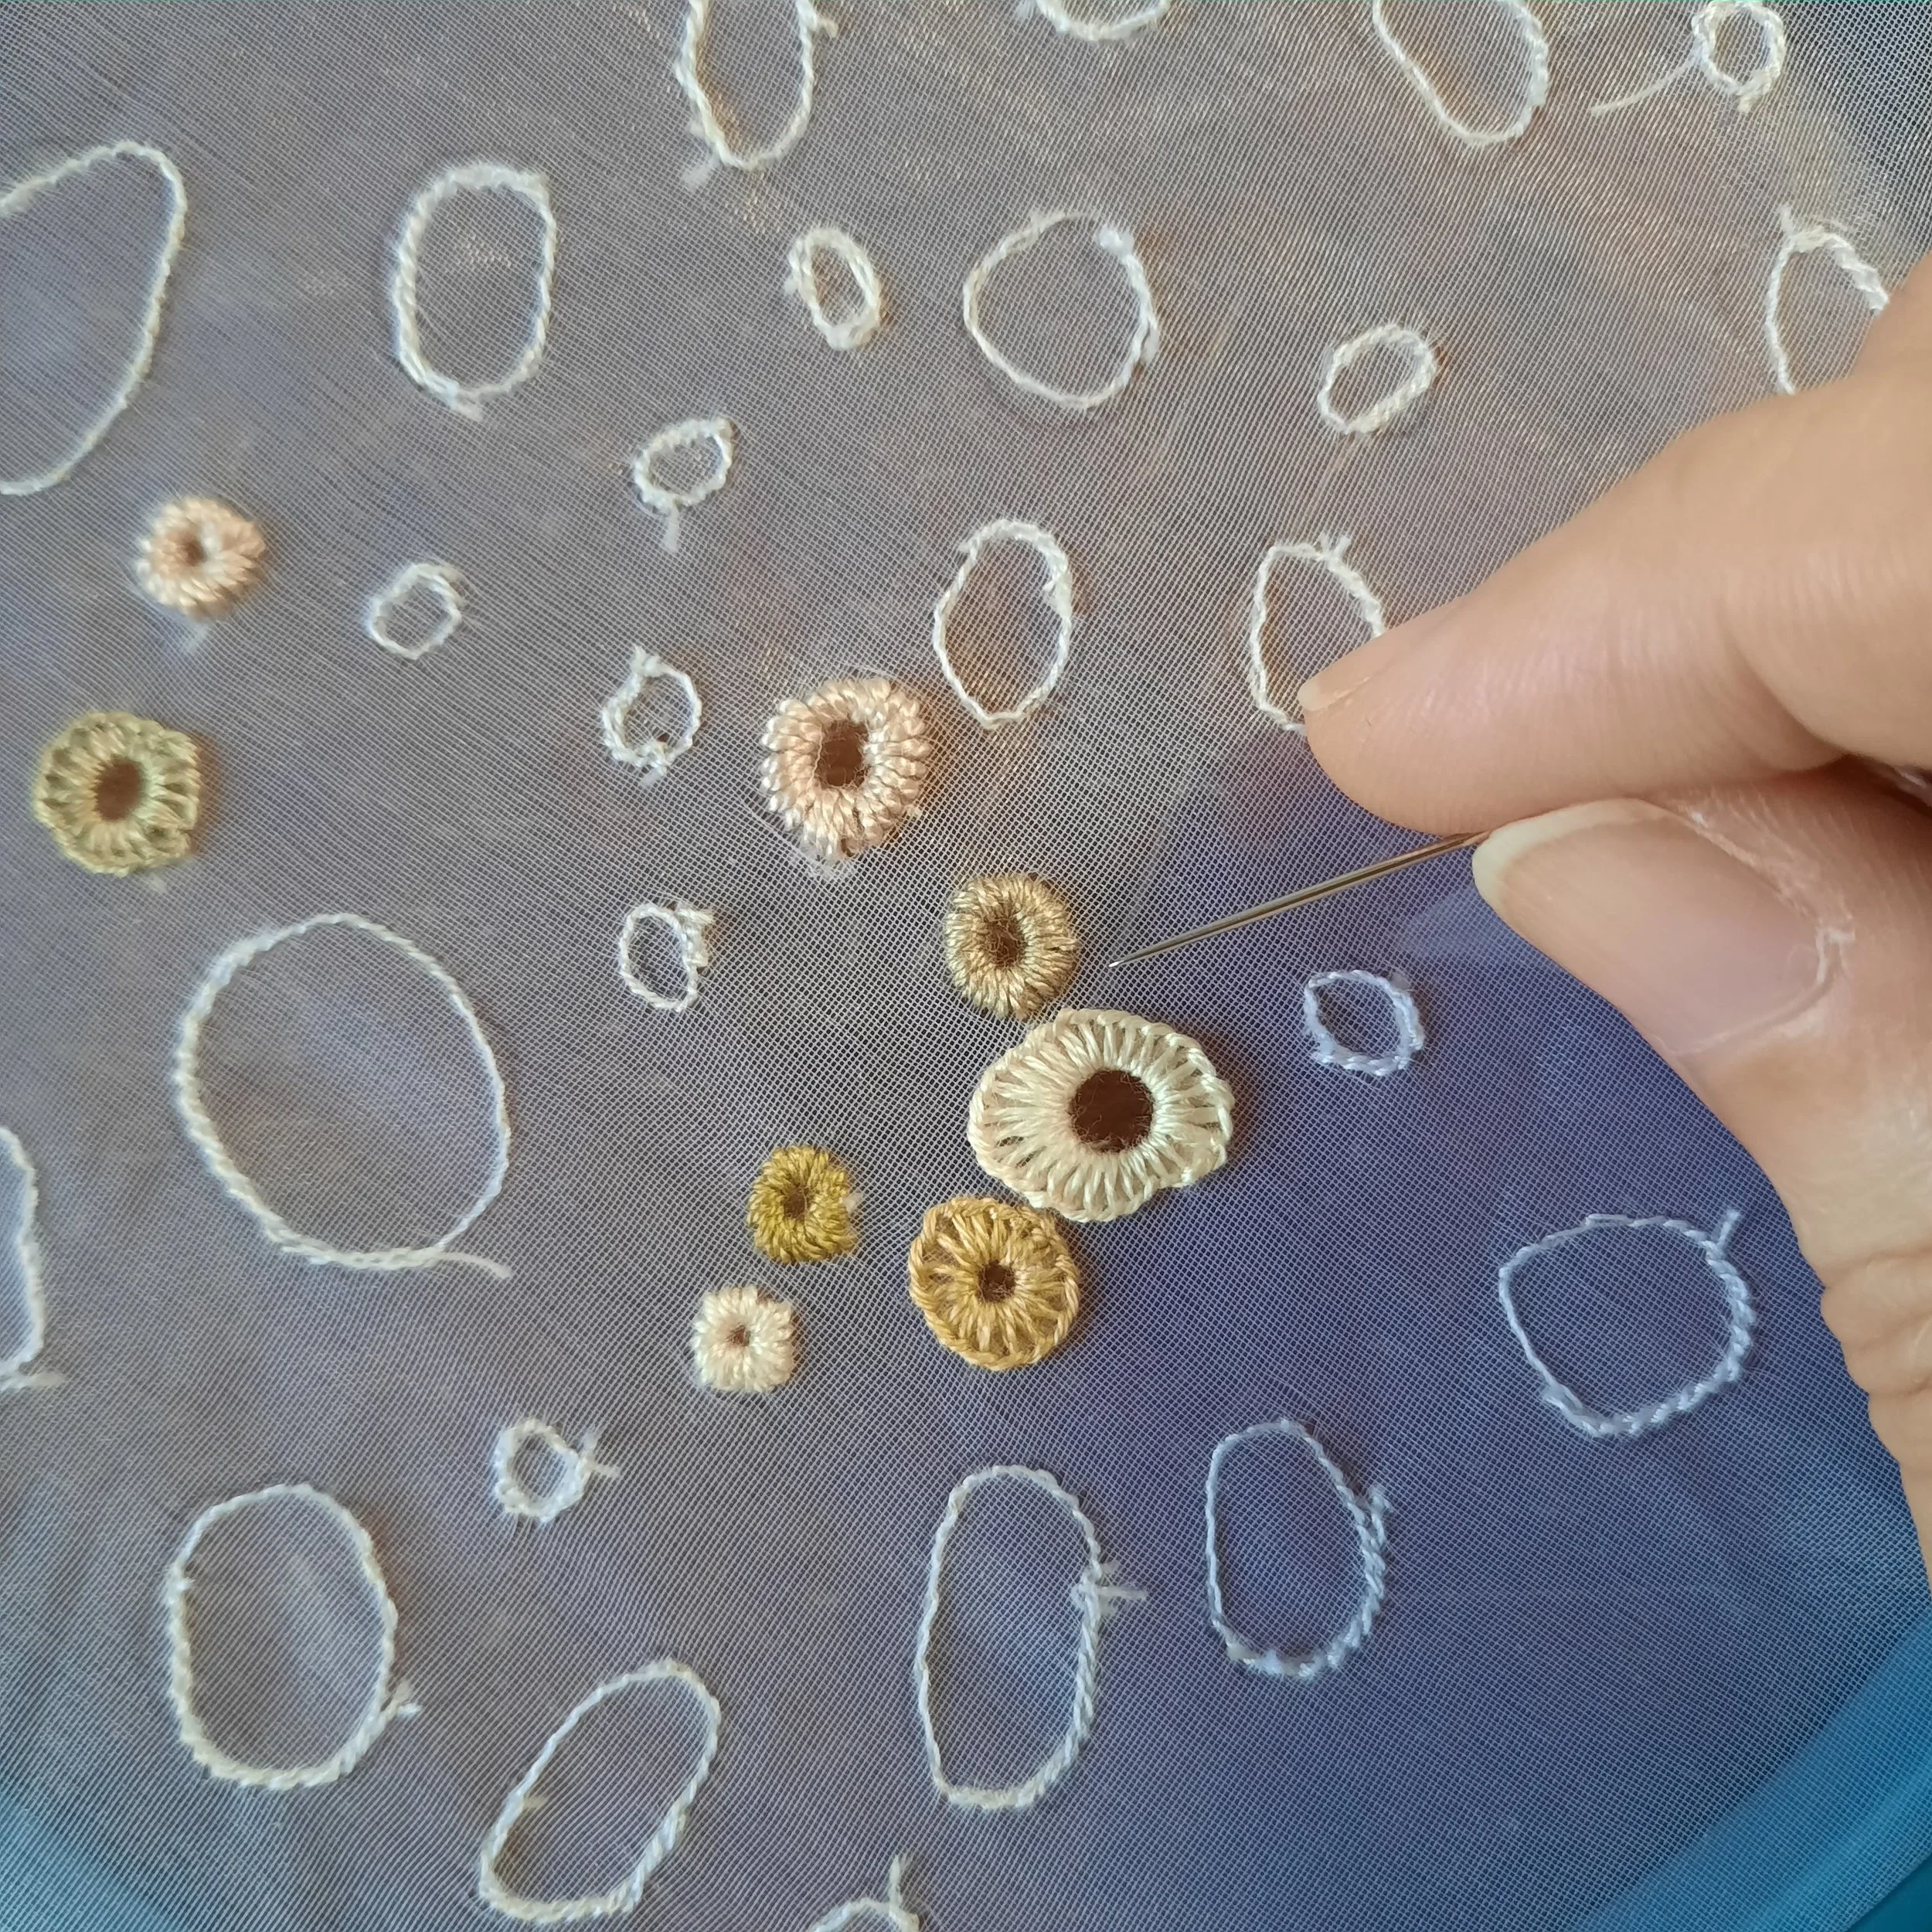
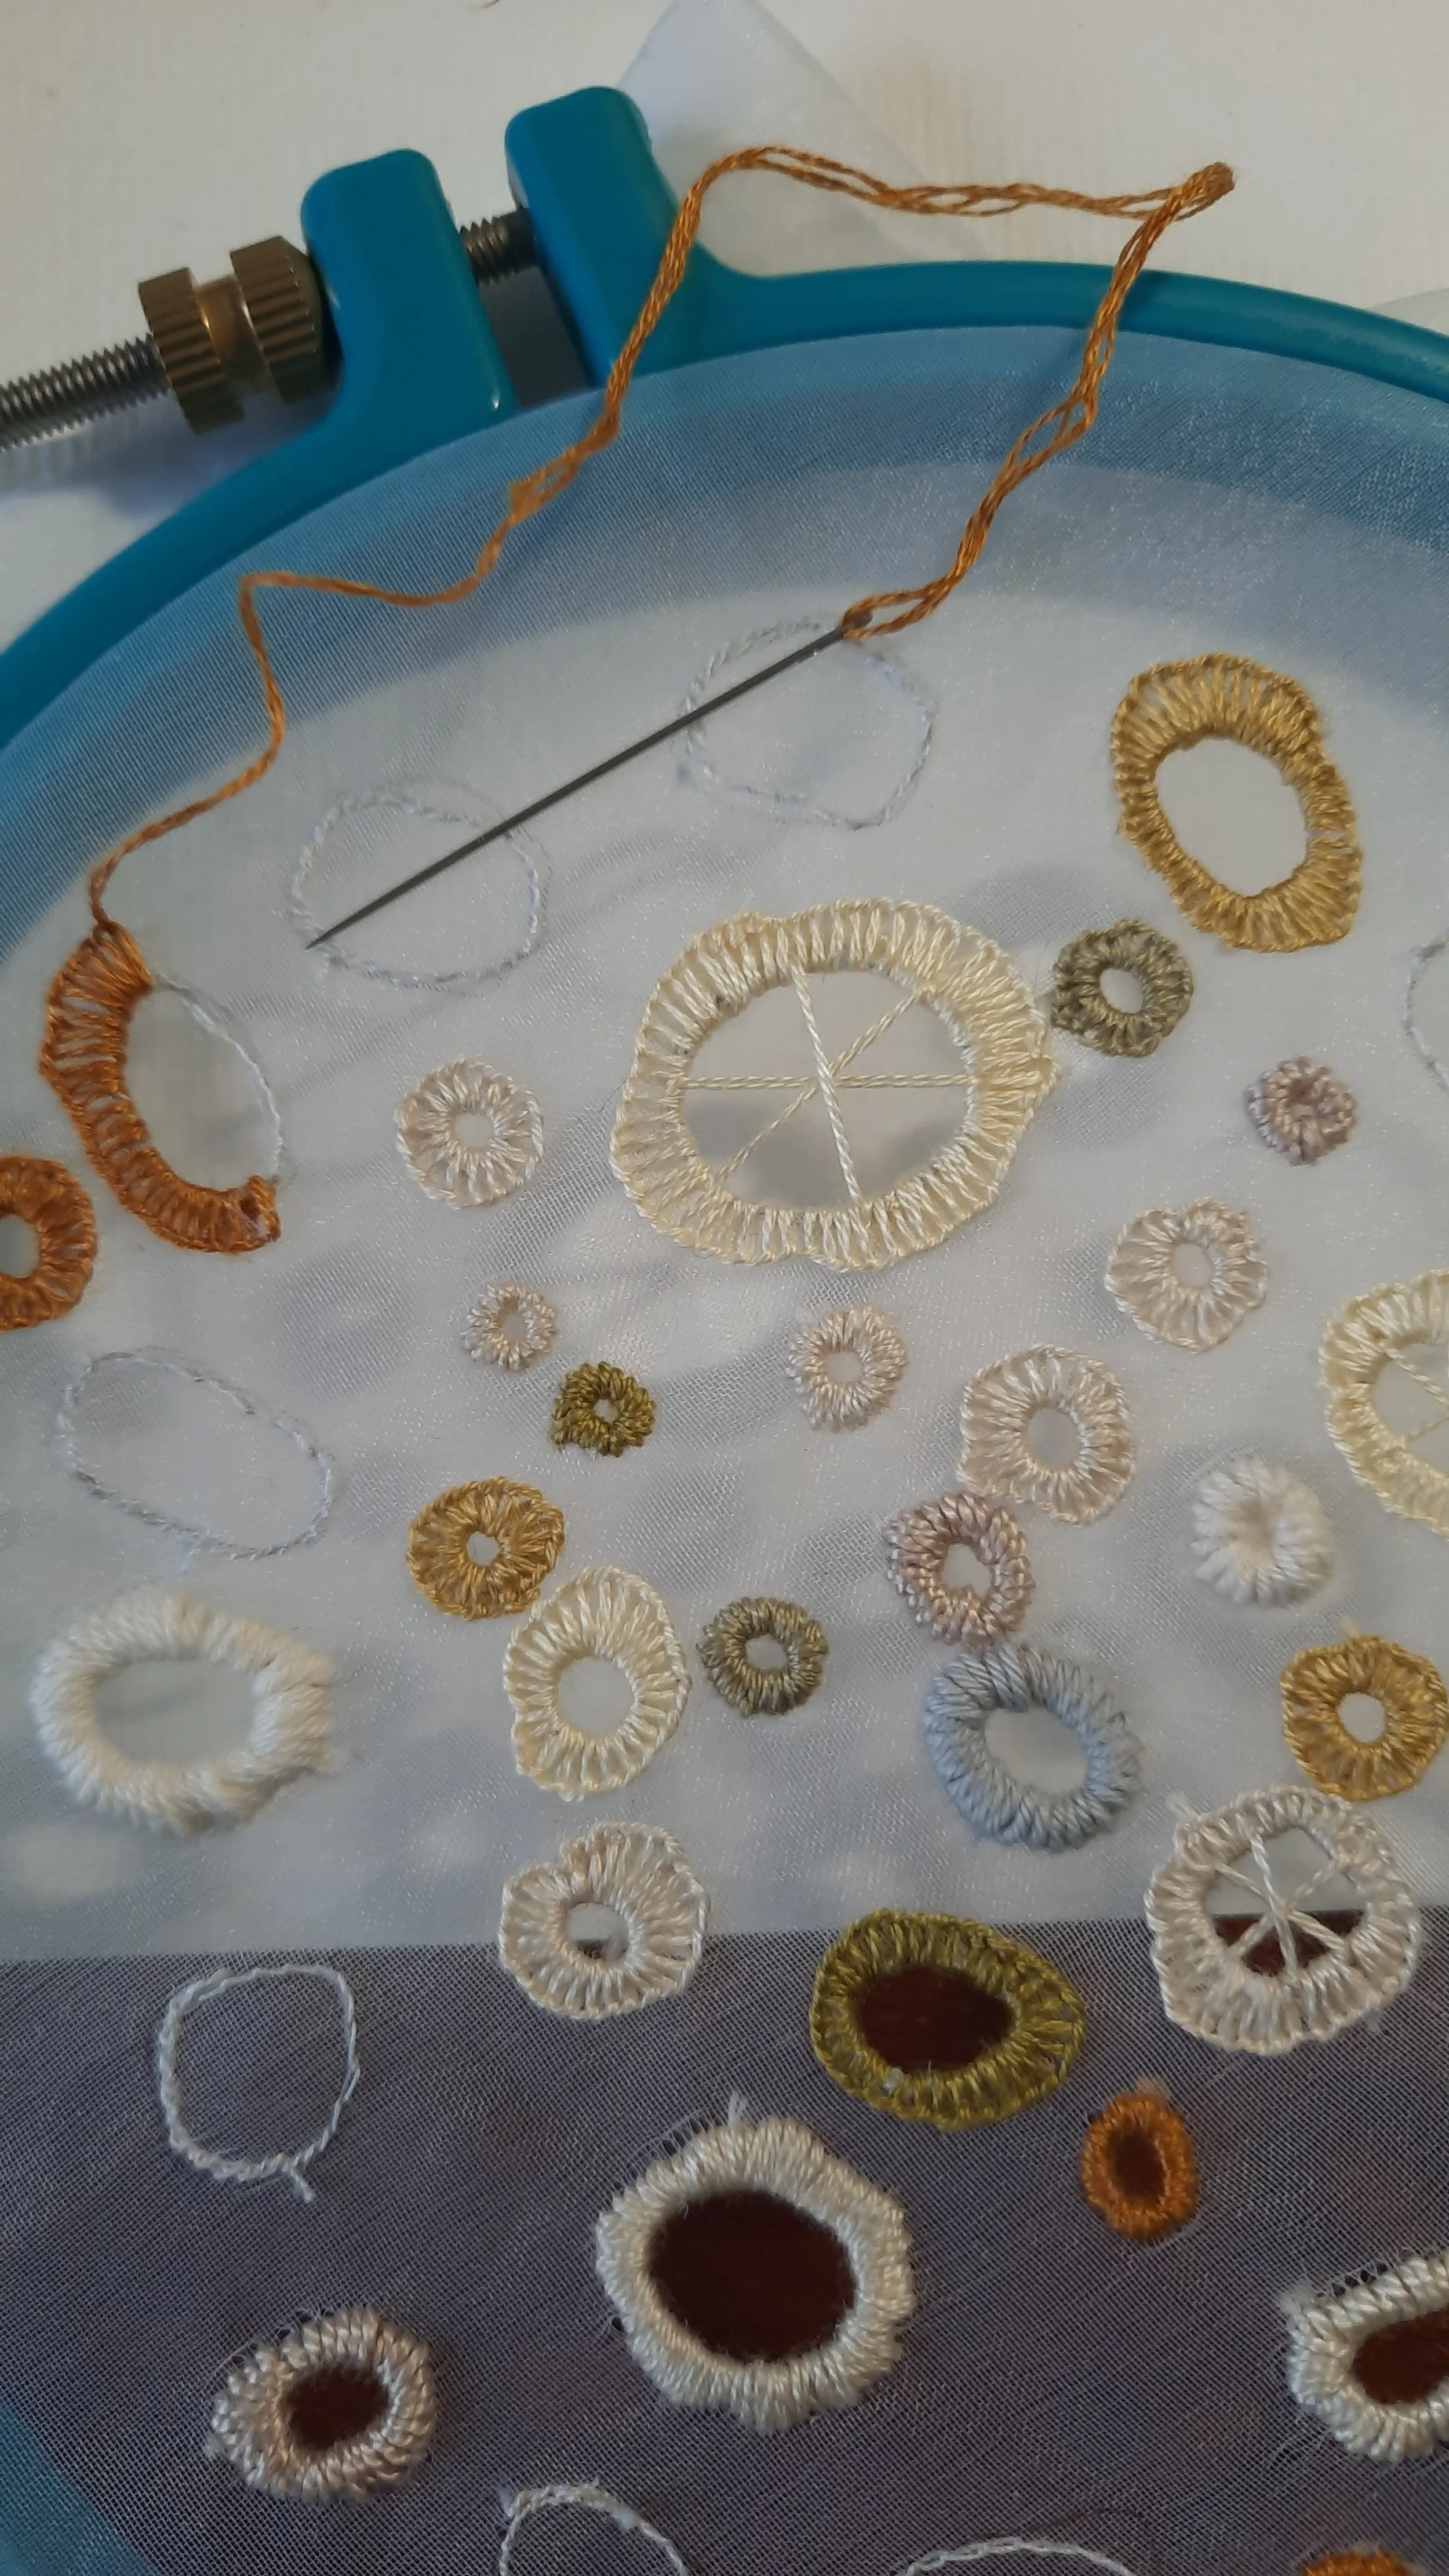
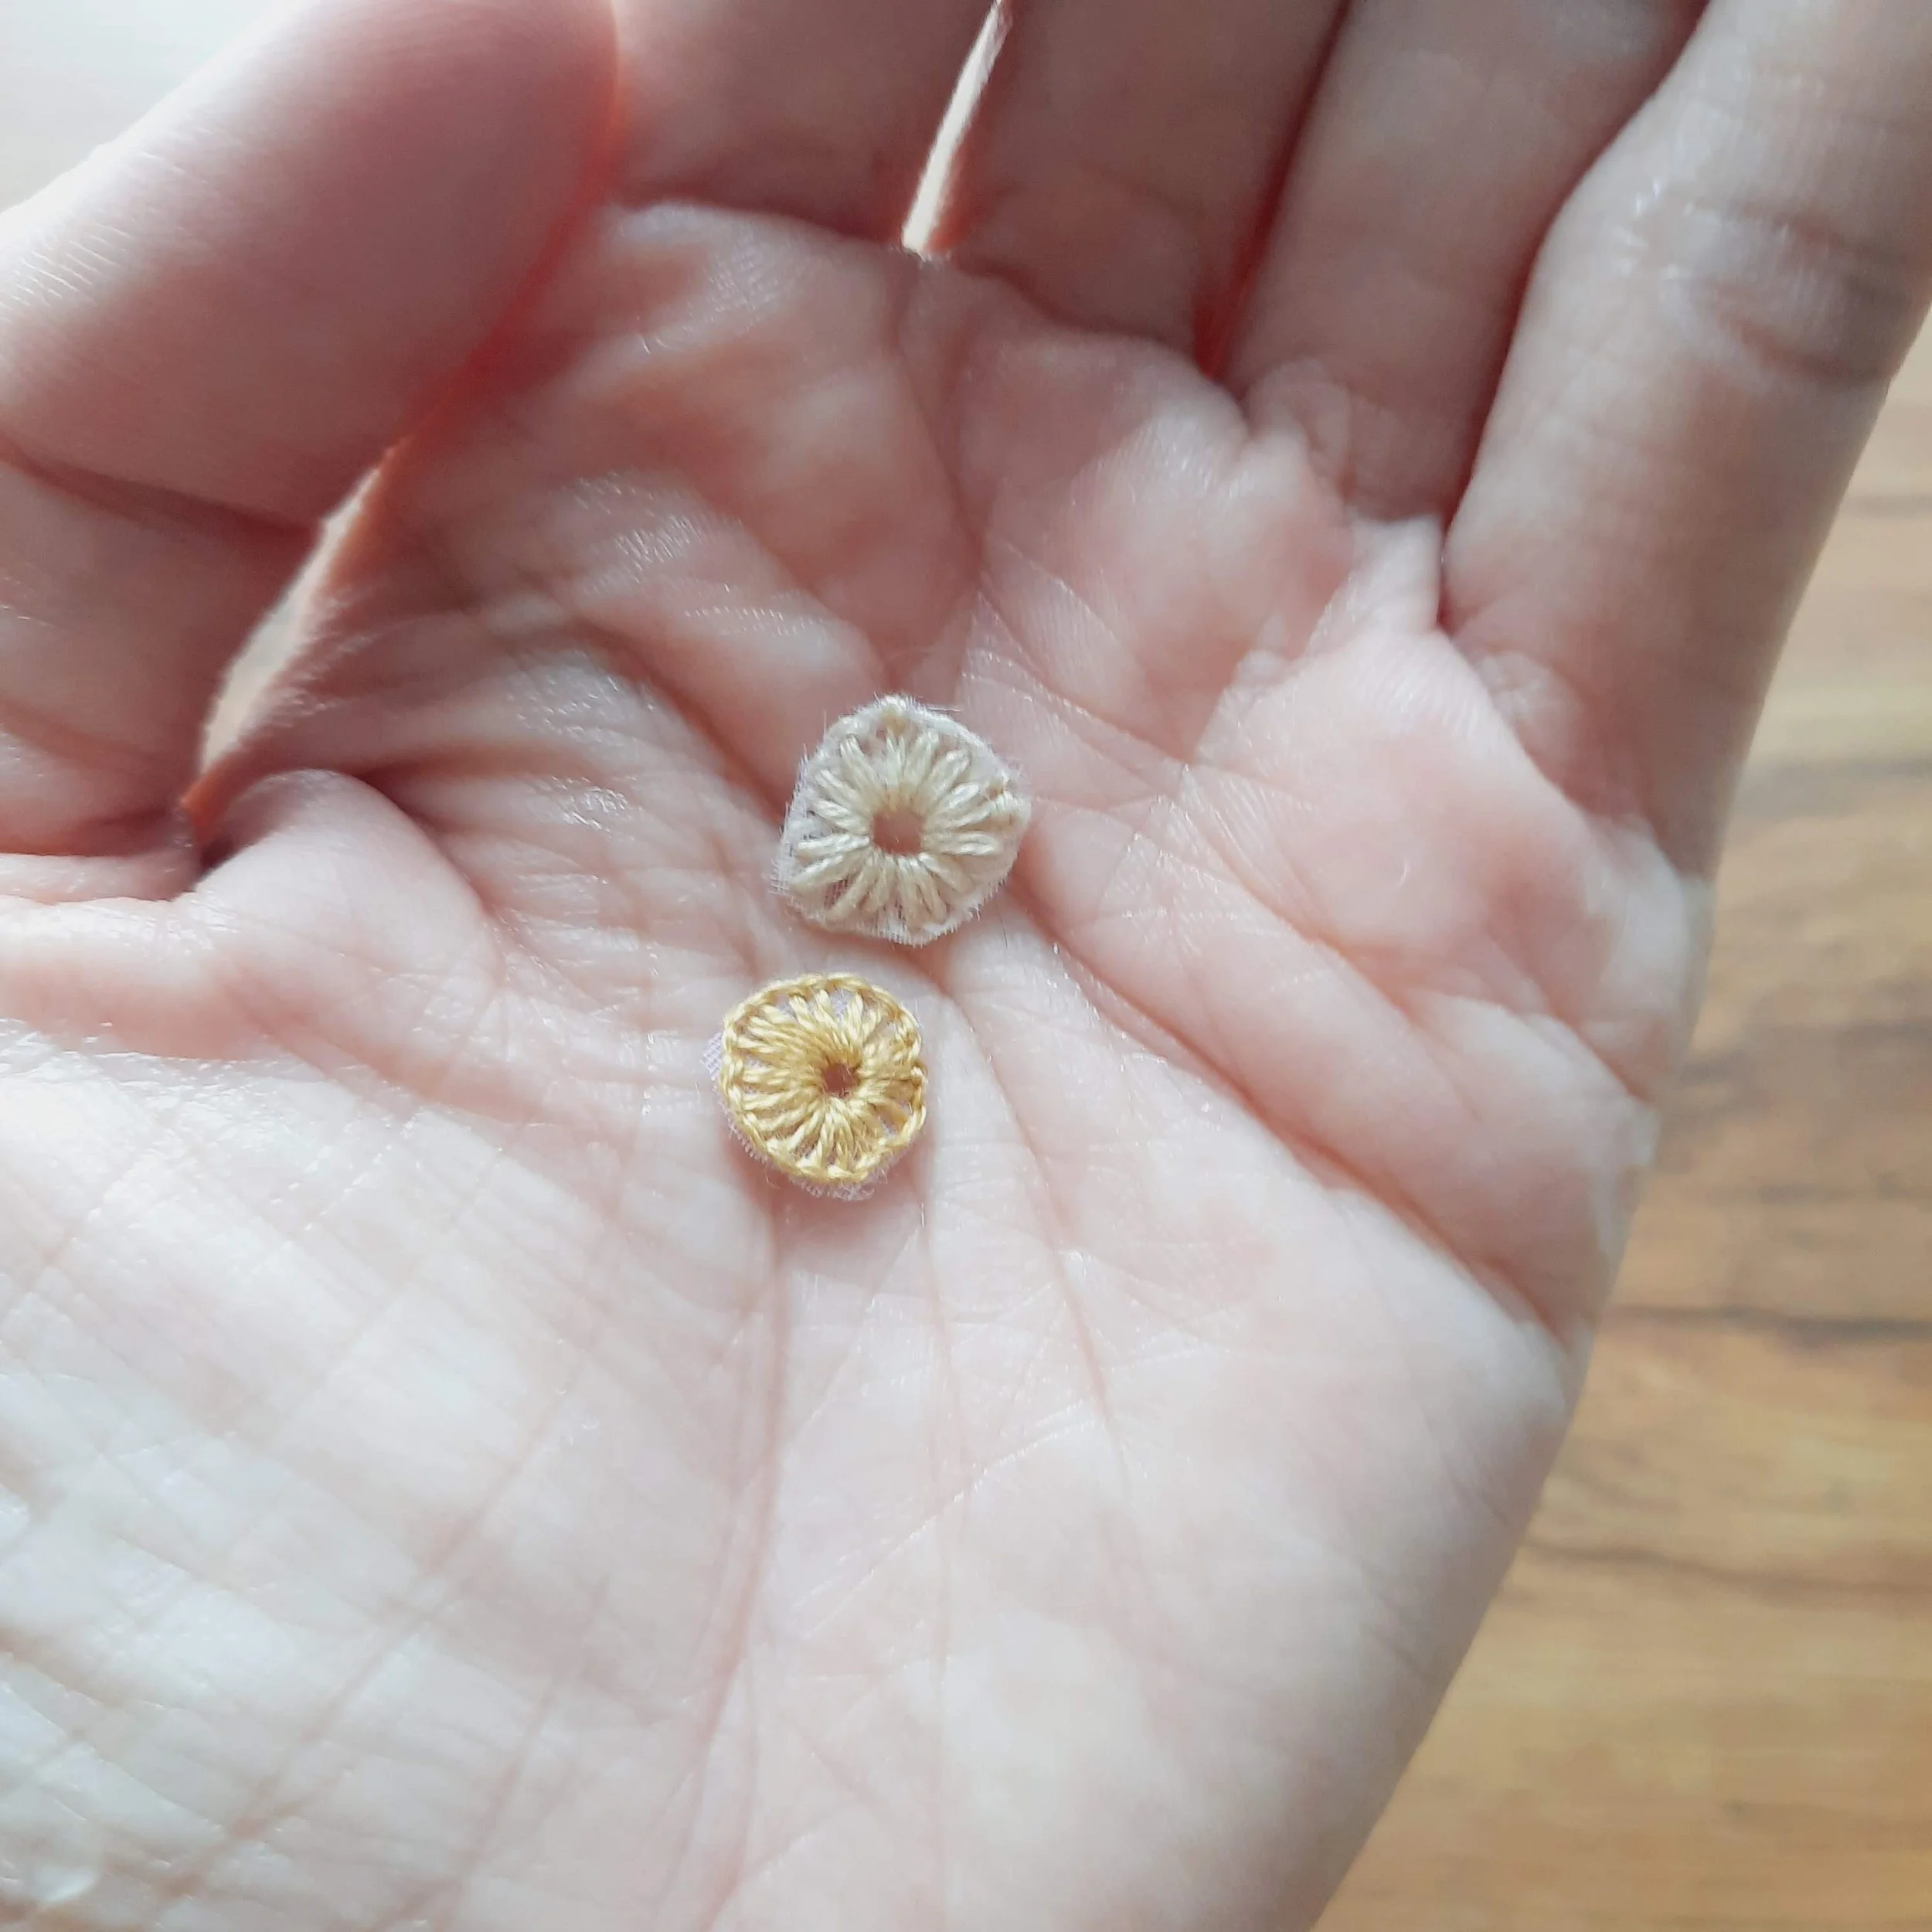
I wanted to try and create my own coral fossils from textiles and concrete casting. I spent the past month sewing a lot of tiny coral pieces using the Broderie Anglaise technique.
It was very relaxing to create, and it took my mind off a lot of things! And as they were small enough to complete within a short amount of time, I got satisfaction out of it!
These were made out of remnant organza. I really like how they cast shadows (a friend said that it reminded her of wedding veils!). However, I decided to cut the small pieces out instead and cast them into concrete.
Making the Molds for Concrete Casting
I made my molds using silicone. It seemed easy when I started - not so! There were so many things to consider, and that’s why planning was necessary:
Make sure your workspace (and items you want to create the molds out of) is clean of dust and hair - any stray fluff could unintentionally sit on the silicone and create a mark that you don’t want.
Cover your work area with an old sheet or a reusable plastic cover. The silicone is sticky and is not something you would want on your table top. It’s also very hard to wipe clean.
Always have what you need ready and in front of you before you start. I actually made the mistake of not having a checklist, and then half-way through the mixing I realised I forgot to bring the cast over, and so I had to take off my gloves and walk over to another table to get my cast (I didn’t want to drip silicone everywhere!).
Wear gloves - I used Smooth-On Dragon Skin 10 Medium - Platinum Cure Silicone and it says safety goggles and gloves are necessary. It’s always important to follow manufacturer instructions, as you don’t want anything bad happening to your health, especially if you are doing this on a regular basis.
Good ventilation - I made my molds in a ventilated room and had my fans on while I was making and curing them.


I used cardboard boxes to make the molds, and tried as much as possible to not to waste the silicone - it is an expensive material! I ended up minimising the distance between the cardboard and the object to be cast.
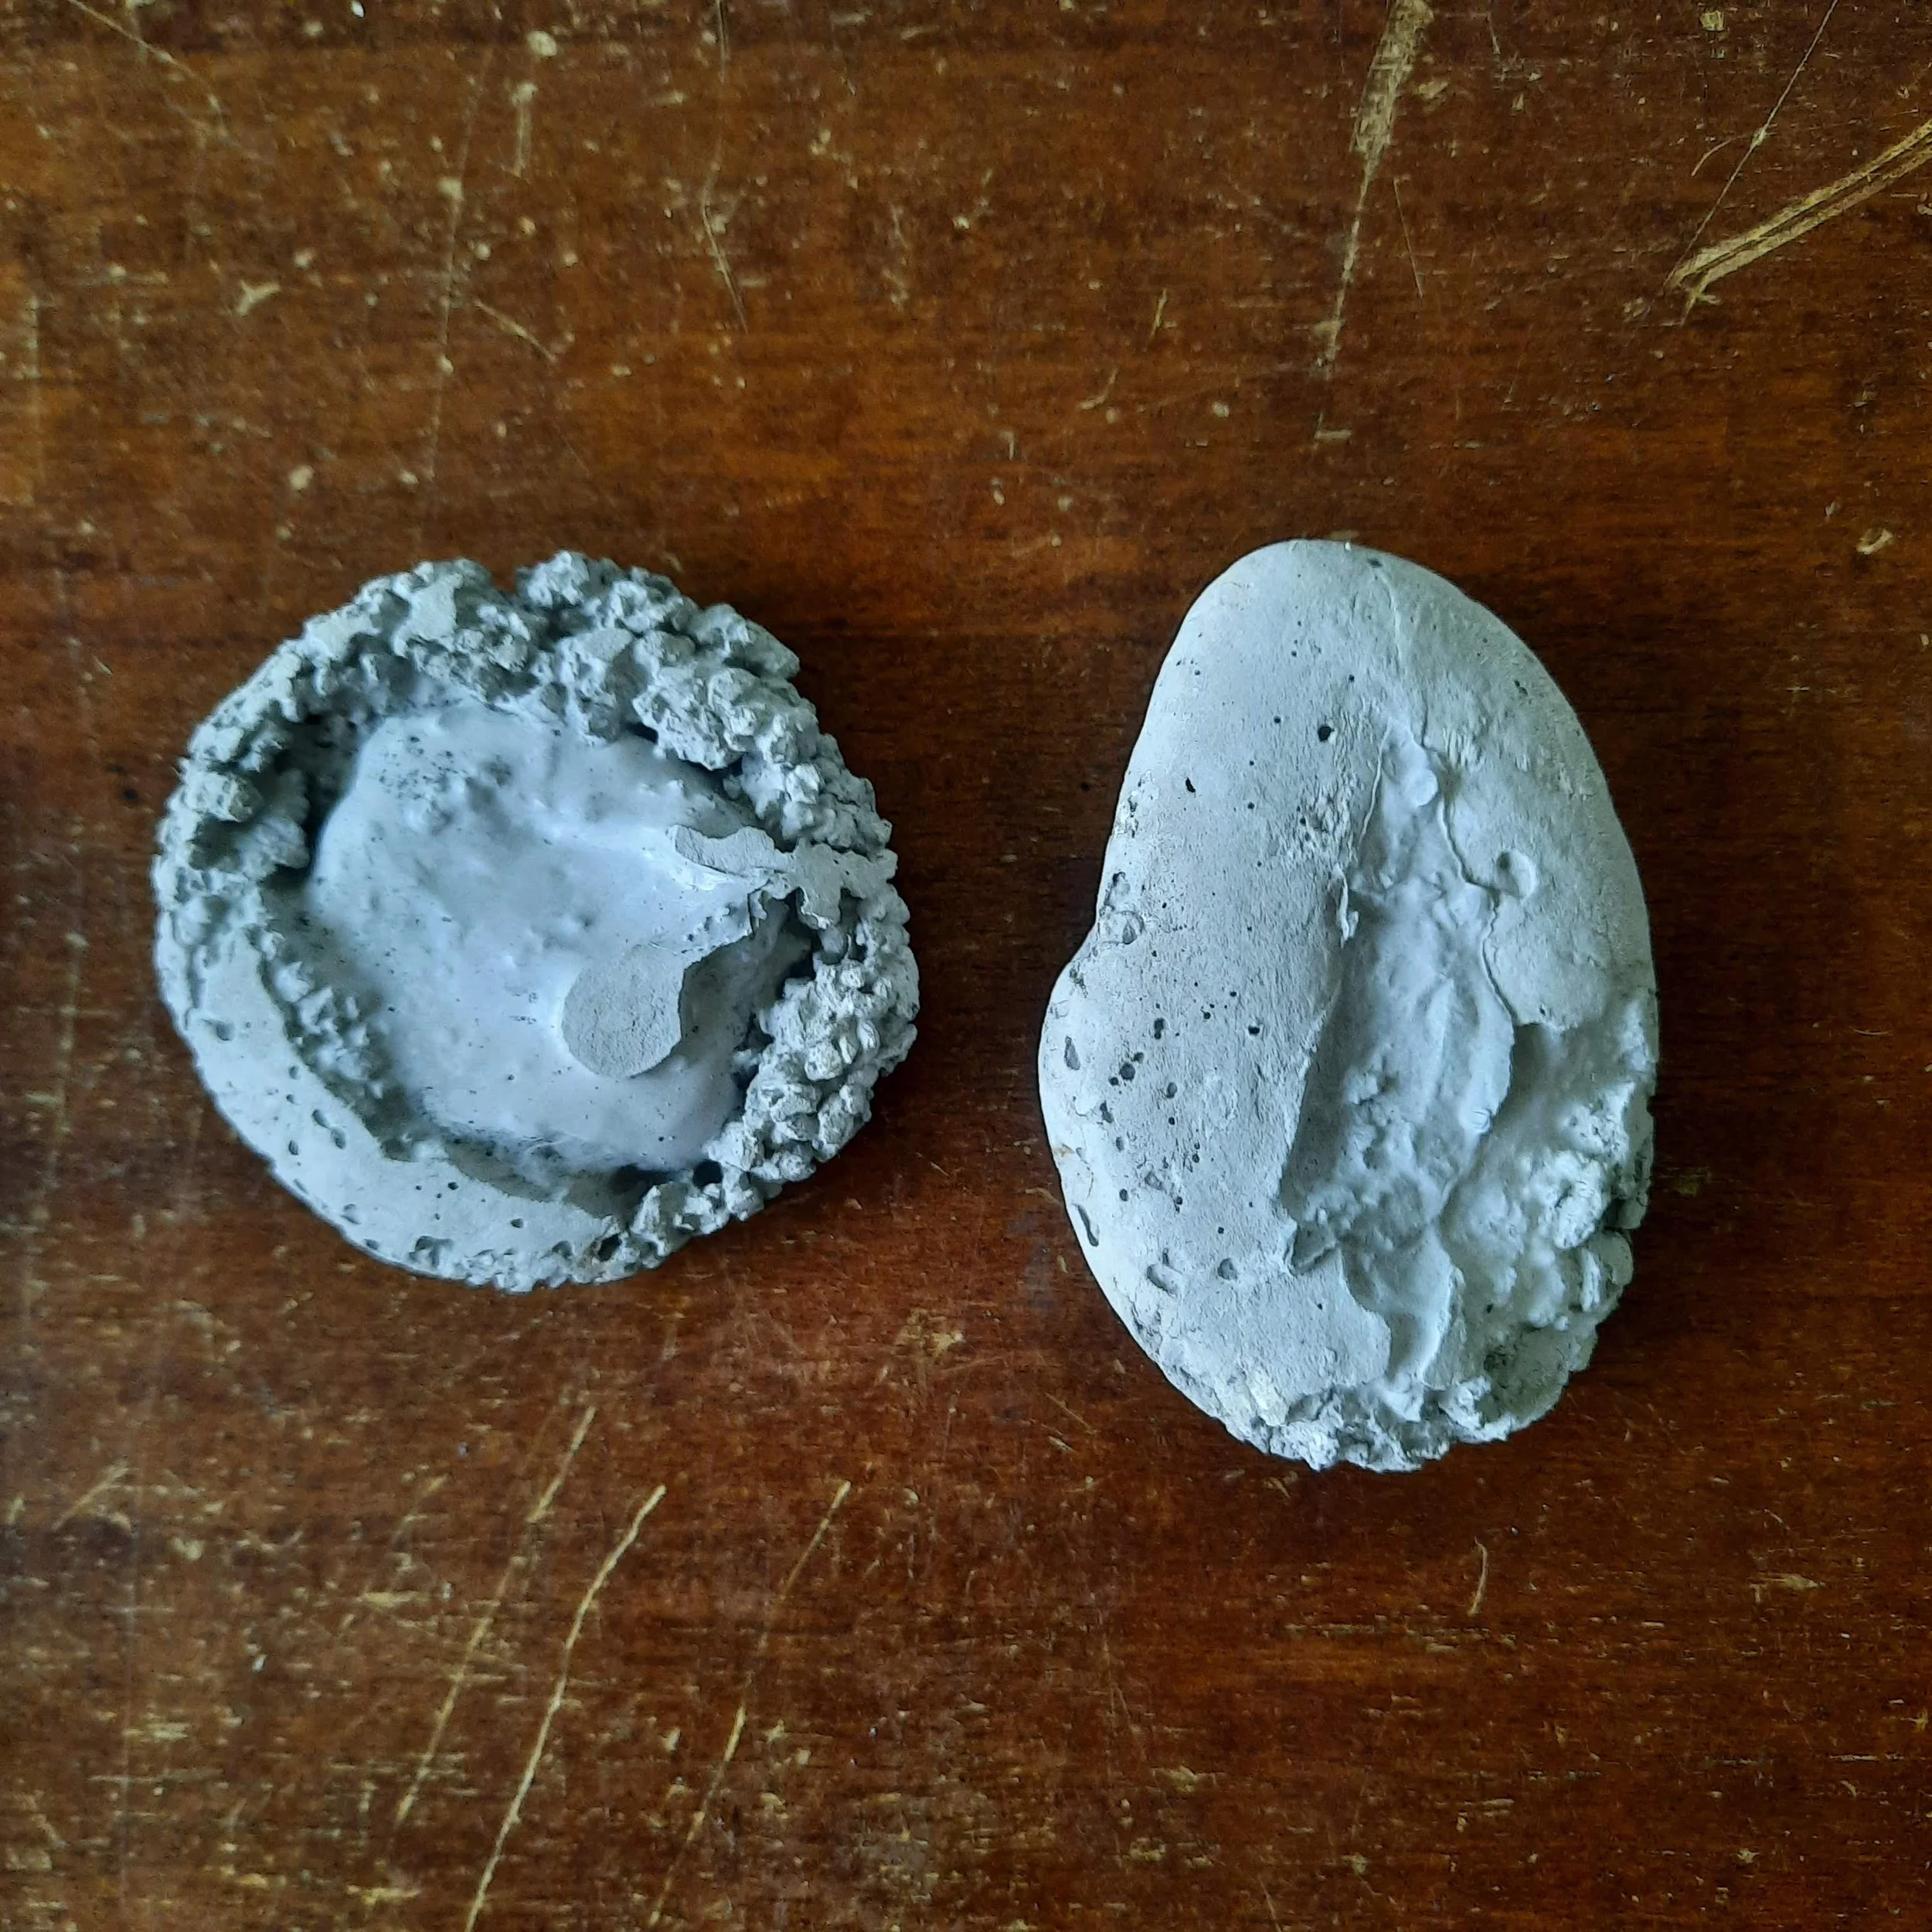
Testing Out the Molds
I always test out the molds and the concrete before working on the actual pieces. As you can see, these did not turn out the way I wanted them to! A ghastly first attempt, so stay tuned to what happens after a few more rounds of experimenting!